We had three days in Tokyo after a wonderful trip to Okinawa. Ryan and I have both been to Tokyo a number of times before, but this was our daughter’s first trip to Tokyo. We really wanted to cater this part of our trip to her so we carefully planned this 3-day Tokyo itinerary to make it kid-friendly (but still fun for us as adults, too!)
If you are visiting Tokyo for three days with kids, or have previously visited and already seen many of the main attractions, this itinerary will work well for you!
Disclosure: This post may contain affiliate links, meaning that if you purchase something after clicking one of these links, we may earn a small commission, at no extra cost to you. As an Amazon Associate, we earn from qualifying purchases.
Tokyo in Three Days – What you need to know
Is three days in Tokyo enough?
Yes and no. We’ve been to Tokyo a number of times before and there’s still always new things on our Tokyo bucketlist that we want to see. However, Japan is full of amazing cities and experiences. We feel that three days in Tokyo is enough per visit to enjoy many of its major attractions, before moving on elsewhere in this wonderful country.
As long as you prioritize what you want to see and divide your days up by neighborhoods, it’s easy and quick to get around on the train/metro, allowing you to see a lot in just three days!
What to wear in Tokyo
Tokyo experiences all four seasons, with summer being very hot and humid, and winter being quite cold and crisp, while still sunny. Spring and fall are very pleasant, and I’d say the best times to visit (not to mention the gorgeous cherry blossoms and fall colours you can see). Obviously, you’ll need to pack your outfits accordingly depending when you will be visiting.
For this trip, we were there in late November and we experienced mostly pleasant daytime temperatures around 15 degrees Celcius, but nighttime was quite chilly. We were glad to have our winter coats and scarves.
However, we found ourselves sweating whenever we got into the subway stations and rode the trains, or went inside the malls. So, make sure you wear easily removable layers so you’ll be warm enough outside, but can be comfortable when you pop inside.
For summer, you’ll want to wear breathable fabrics so you can withstand the humidity! Loose-fitting cotton and linen pieces are ideal.
No matter which season you visit, make sure to wear comfortable walking shoes! Even when taking the subway, you’ll definitely be getting your steps in walking through the large stations and climbing up and down flights of stairs.
What currency do they use in Tokyo?
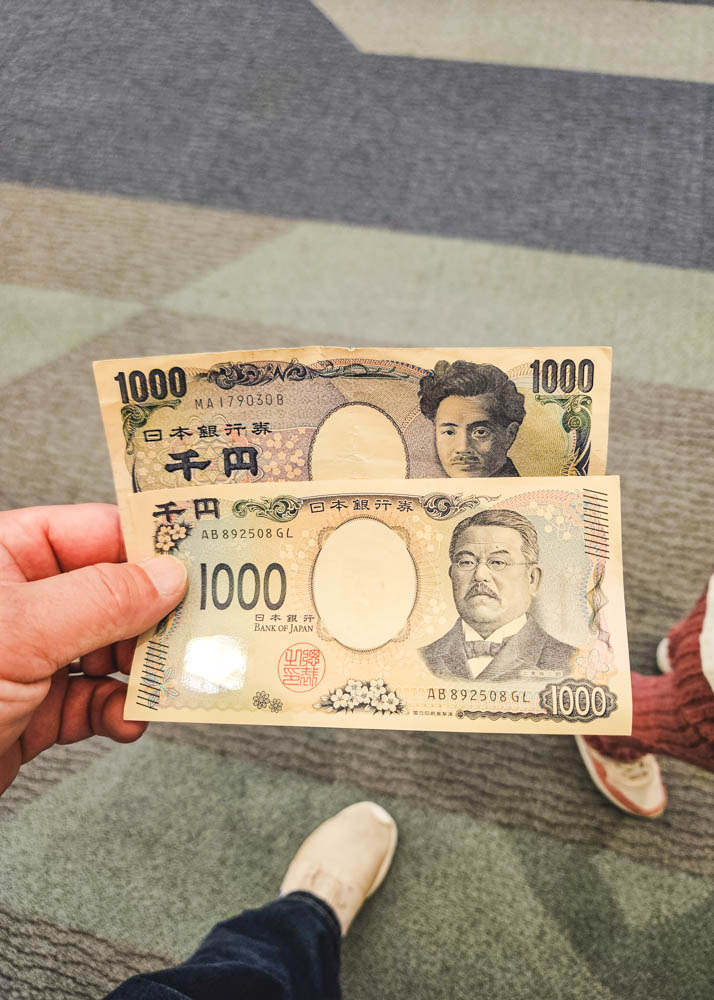
Japan’s official currency is the Japanese Yen (JPY) and its symbol is ¥. As of January 2025, $1 CAD is equal to ¥109. However, to make it easier for ourselves, we just rounded it off and thought of it as ¥100 equals about $1 CAD.
Americans have it good right now as $1 USD equals about ¥158.
We found credit card acceptance to be pretty good and were able to use our Visa and Mastercard at most places, and sometimes even our American Express. However, there were a few instances where our cards would not work for some reason, so it’s good to have cash as a backup.
We withdrew cash at the ATM upon arrival in Japan, as we find the rates to be much better this way rather than purchasing yen back home.
One thing about using cash in Japan is you will end up with a lot of coins! Make sure to bring a coin purse to contain it all.
Tip: when your coins get to be too much, use them during your next trip to 7-Eleven or Lawson’s! They have machines at the till where you can just dump all your change into them and it quickly counts it all.
What language do they speak in Tokyo?
Japanese is the official language of Japan. Most locals do study English for a number of years in junior and high school, so even though we don’t speak Japanese, we felt we were able to communicate at a very basic level with most locals we encountered. Usually they would speak to us in Japanese, we would reply in English, and we somehow managed to get by.
There were definitely a number of times we had to use Google Translate, however. Even at major tourist sites, the staff sometimes communicated with us using a handheld translator. At a number of restaurants we went to, we found there was no English used and we had to use Google Translate to read the menus.
So, definitely be prepared with the Google Translate app downloaded on your phone!
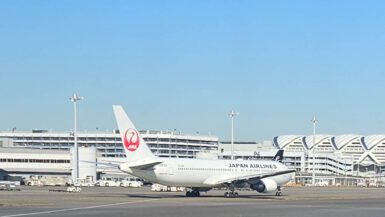
Arriving at Narita or Haneda Airport
There are two international airports in Tokyo: Narita and Haneda. Narita Airport is located further away from the city centre, in Narita City, about 75 kilometres from Tokyo Station, whereas Haneda Airport is only about 15 kilometres away.
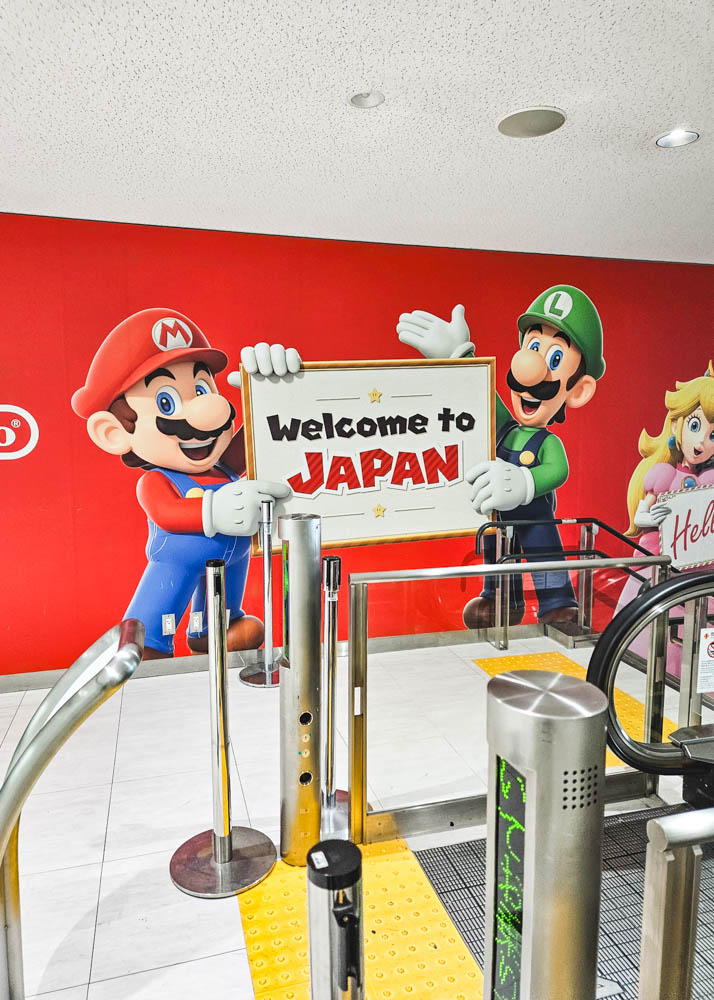
We flew in and out of both of them during our trip and found both of them to be equally excellent airports.
Immigration and Customs
After arriving on an international flight, you will be required to go through immigration. To speed up and simplify the process, you’ll want to use “Visit Japan Web” ahead of time to fill out all of your immigration and customs information. Otherwise, you’ll be instructed to fill it out once you arrive and join the much longer queue.
Thankfully, someone told us about Visit Japan Web while we were in Canada so we made sure to complete everything prior to leaving home. It’s not the quickest process so I’m glad we did it while still at home. We definitely recommend completing it ahead of time to save time at the airport!
After completing it online, we received our QR codes, which we were then able to show on arrival at Narita to join the shorter queue. Once we reached the immigration desk, we just had to scan our QR codes for the immigration officer and provide our passports to be stamped.
After immigration, we proceeded to pick up our checked baggage. After baggage, we had to again scan our QR codes at the customs kiosks before exiting. The entire process from deplaning to exiting the terminal took us 45 minutes.
Do I need a visa for Japan?
As of the time of writing this post, Japan allows visa-free entry for tourists from these 71 countries and regions:
- Africa:
- Lesotho, Mauritius, Tunisia
- Asia:
- Brunei, Indonesia, Malaysia, Republic of Korea, Singapore, Thailand, Hong Kong, Macao, Taiwan
- Europe:
- Andorra, Austria, Belgium, Bulgaria, Croatia, Cyprus, Czech Republic, Denmark, Estonia, Finland, North Macedonia, France, Germany, Greece, Hungary, Iceland, Ireland, Italy, Latvia, Liechtenstein, Lithuania, Luxembourg, Malta, Monaco, Netherlands, Norway, Poland, Portugal, Romania, San Marino, Serbia, Slovakia, Slovenia, Spain, Sweden, Switzerland, United Kingdom
- Latin America and the Caribbean:
- Argentina, Bahamas, Barbados, Brazil, Chile, Costa Rica, Dominican Republic, El Salvador, Guatemala, Honduras, Panama, Mexico, Surinam, Uruguay
- Middle East:
- Israel, Qatar, Turkey, United Arab Emirates
- North America:
- Canada, United States
- Oceania:
- Australia, New Zealand
These short-term visa-free stays are permitted for a period of up to 90 days, with the exception of Indonesia and Thailand (15 days), and Brunei, UAE, and Qatar (30 days).
Prior to your trip, always check the most up-to-date visa information on the official Government of Japan website.
Getting a SIM card in Tokyo
While you can get a physical SIM card on arrival in Tokyo, or rent a portable Wi-Fi device, I much prefer the simplicity of using an eSIM instead. This way I can have data on my phone as soon as we touchdown in a new country, while still being able to reveive texts on my home cell phone number (which is handy for two-factor authentication!)
Our favourite eSIM provider is Airalo and we’ve used it all around the world. I just purchase and download the eSIM to my phone before we leave Canada. For Japan, Ryan only paid $12.50 CAD for 3GB valid for 30 days. He ended up going over the 3GB, but he just easily topped it up by purchasing additional GBs.
If you’ve never tried Airalo before, we highly recommend it. You can sign up using our referral code LOUISE4057 to get $4.50 CAD off your first purchase.
I ended up trying an eSIM from Klook for our Japan trip this time since I got it for free when purchasing it with our Tokyo Disneyland tickets. It worked perfectly, so this is another option for you if you prefer Klook over Airalo! Klook also has Wi-Fi device rentals and physical SIM cards, if you prefer.
Getting around Tokyo
Train/Subway
Using the train and subway is the best way to get around Tokyo! They are the most affordable and efficient way to get around. No matter where you are going, there is sure to be a station close by.
Klook offers a 3-day Tokyo Subway ticket for ¥1500 (1 and 2-day tickets are also available for cheaper) which we found to be ideal for our 3-day Tokyo itinerary! We first attempted to buy tickets individually at the subway stations but our credit cards kept getting rejected.
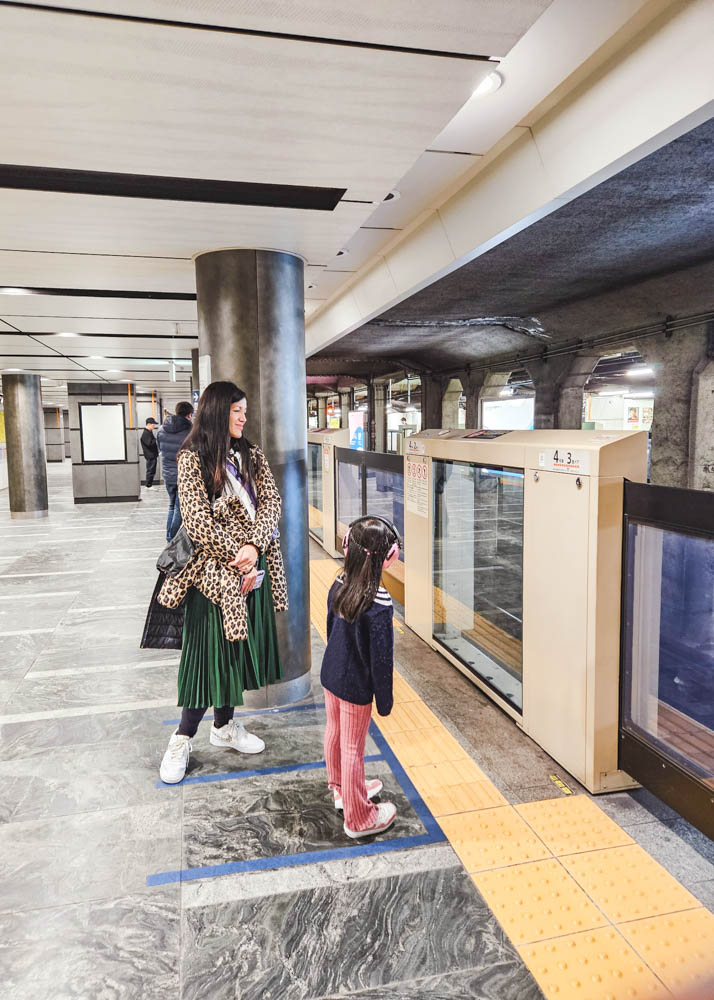
We ended up buying them on the Klook app and then just scanned the QR card to print our 3-day pass. It was super easy and convenient! Note that not all subway stations offer the Klook ticket vending machines so make sure to double check the locations listed on Klook before purchasing.
You will need to buy a JR pass/ticket separately if you will be riding any of the JR lines. We were able to get to most places using the subway, but used cash to buy individual JR tickets at the stations when needed.
Uber
Uber is available in Tokyo but we found it to be very expensive. We only took it once and it cost us ¥3800 for a 12-minute ride! So, try to only use Uber as a last resort.
Taxi
Similarly, taxis are pretty expensive in Tokyo so we tried to avoid them as much as possible. We did, however, take a taxi from our hotel to Haneda Airport as it was just too inconvenient to take the subway with all our bags. This is probably the only time I’d recommend taking a taxi or Uber in Tokyo.
The taxi was very spacious and comfortable, and cost us ¥8600 (about $78 CAD) which we felt was totally worth it!
Limousine Bus
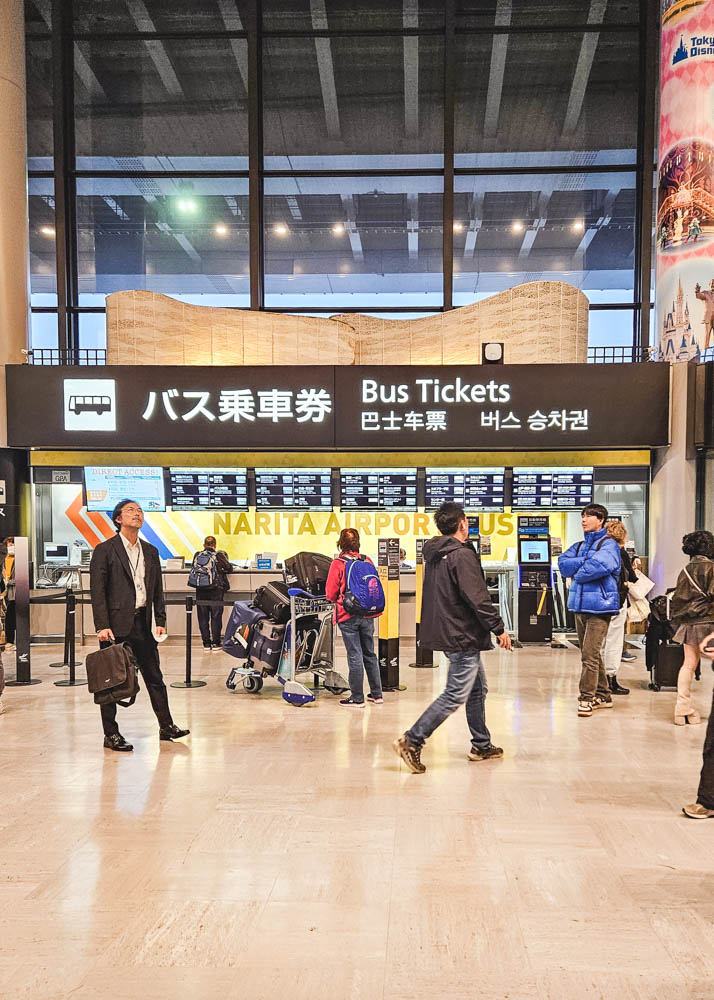
Limousine buses are a great way to get between the airports and the city/hotels. They are super comfortable and have lots of room for luggage. Fares are reasonable and there are many convenient routes. They are definitely our preferred way of getting to and from the airport in Tokyo!
You can buy tickets in advance on Klook or buy them from kiosks at the airport.
Where to stay for three days in Tokyo
There are endless hotel options in Tokyo so you really need to narrow it down to what area you want to be in, and pick a hotel that’s preferrably close to a subway station. For a 3-day stay in Tokyo, you can choose to stay all three nights at one place, or split it up so you can experience different neighborhoods.
Since we had our 5-year-old daughter with us on this trip, we wanted to stay in a somewhat quieter area. We chose to split up our stay and spent one night close to Tokyo Disneyland and the next night in the Ebisu area. These areas worked perfectly for our 3-day Tokyo itinerary, as you will see below.
No matter which area you end up staying in, you’ll notice hotel prices are very high. To make matters worse, Tokyo has strict room occupancy limits, and it is difficult to find rooms that allow more than 2 or 3 people maximum.
If you have more than one child, this certainly poses a problem. You’ll be forced to either book a suite or two separate rooms if the hotel doesn’t offer family rooms (many do not). So, be prepared to double your accommodation budget.
Luxury
Tokyo has many stunning high-end hotels with very high prices to match. If you have points with any of the major hotel chains, they will come in handy here!
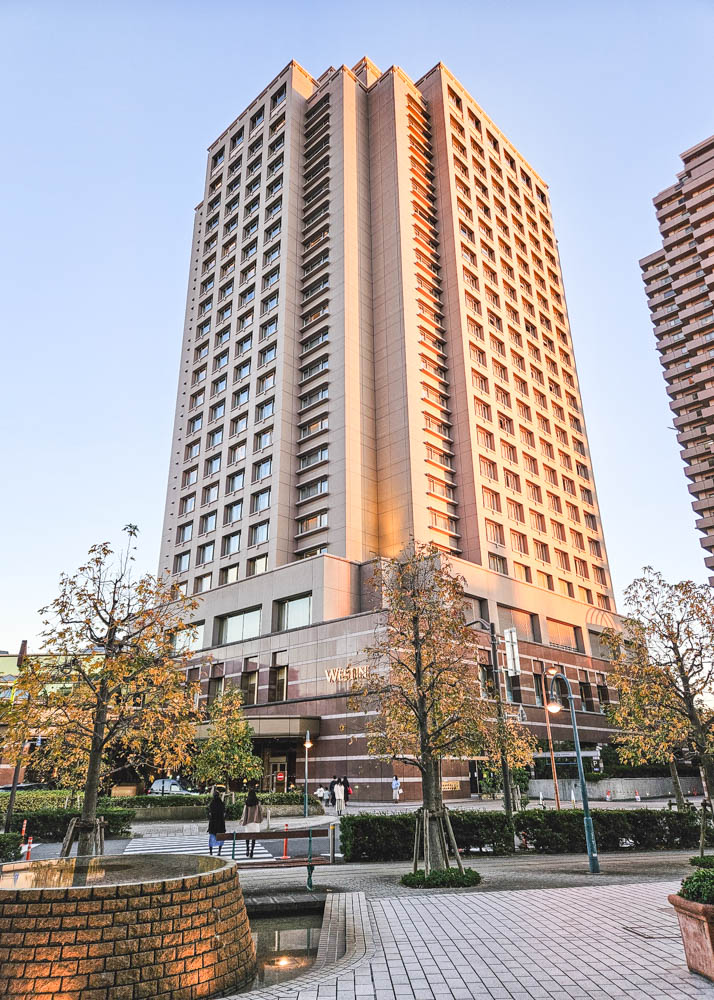
The Westin Tokyo
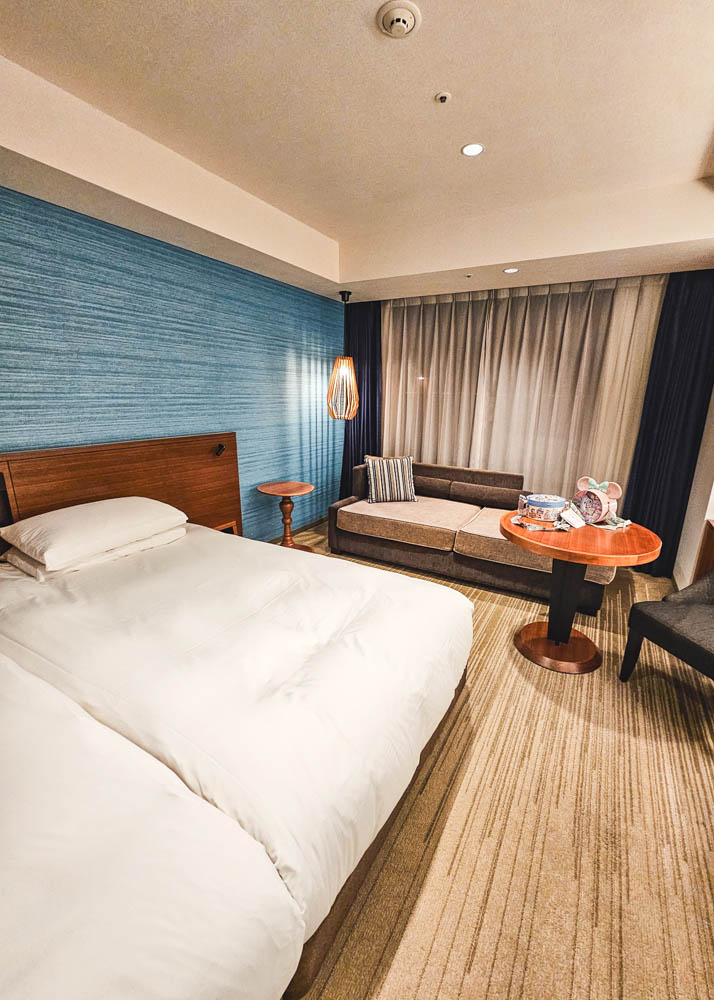
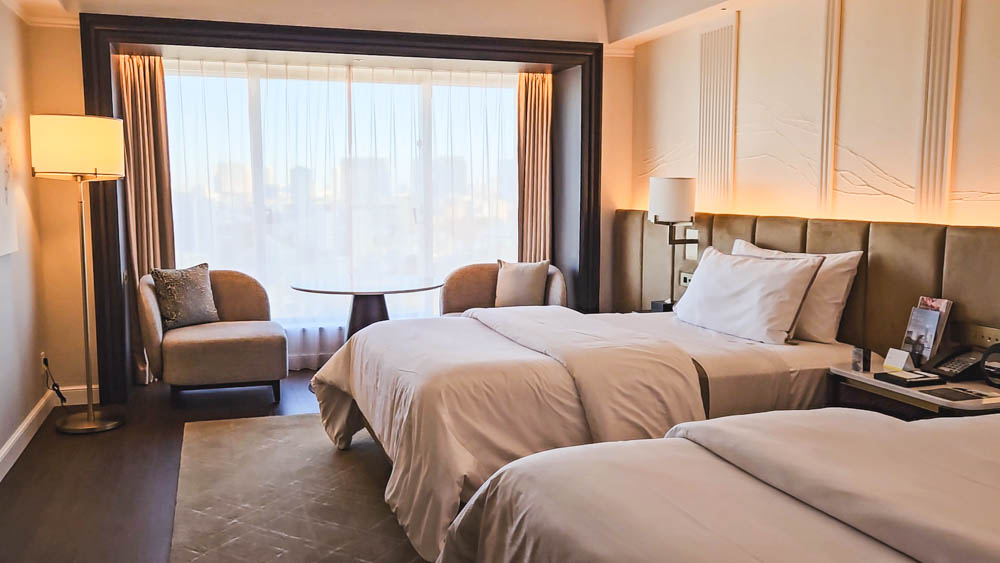
We stayed one night at The Westin Tokyo and absolutely loved it. The rooms were much larger than other Tokyo hotels we’ve stayed in. It is located in the quieter Ebisu neighbourhood, which we found very pretty and still well connected to the rest of the city.
The hotel’s lounge and buffet breakfast were highlights for us.
Read our full review of The Westin Tokyo
Mid-range
Park Hotel Tokyo
The Park Hotel Tokyo is located in the wonderful Ginza neighbourhood and is conveniently located next to Shiodome Station. Some of our family stayed here and enjoyed the hotel, but we ended up going with an option closer to Tokyo Disneyland.
Hyatt Regency Tokyo Bay
We began our three days in Tokyo with a stay at the lovely Hyatt Regency Tokyo Bay. The nightly rates here are thankfully much more reasonable than staying right in Tokyo. It makes perfect sense to stay in the Tokyo Bay area when visiting Tokyo Disneyland, but it does not make a good base for exploring the rest of Tokyo.
Read our full review of the Hyatt Regency Tokyo Bay!
We recommend staying here for a night or two while visiting Tokyo Disneyland, and then transferring to a different hotel that is more centrally located for the rest of your Tokyo itinerary.
Budget
You can find 3-star hotels around $100 in Tokyo. Local chain APA has a number of affordable options around the city, such as APA Hotel Ginza Shintomicho Ekimae.
If you’re not traveling as a family, you can try one of the capsule hotels, which could be a fun and unique experience! Popular capsule hotels include First Cabin Akasaka and MyCUBE by MYSTAYS Asakusa Kuramae.
3-Day Tokyo Itinerary
Now that we’ve covered the basics and where to stay, let’s get to our itinerary! This is the exact itinerary we followed for our three days in Tokyo. As mentioned, it was our daughter’s first visit to Tokyo and we wanted to make it a fun, introductory trip for her, while still making it enjoyable for ourselves who have been a few times already.
Whether you’re visiting Tokyo with kids, or exploring on your own, we hope our itinerary will inspire you and give you ideas for planning your three days in Tokyo!
Day One
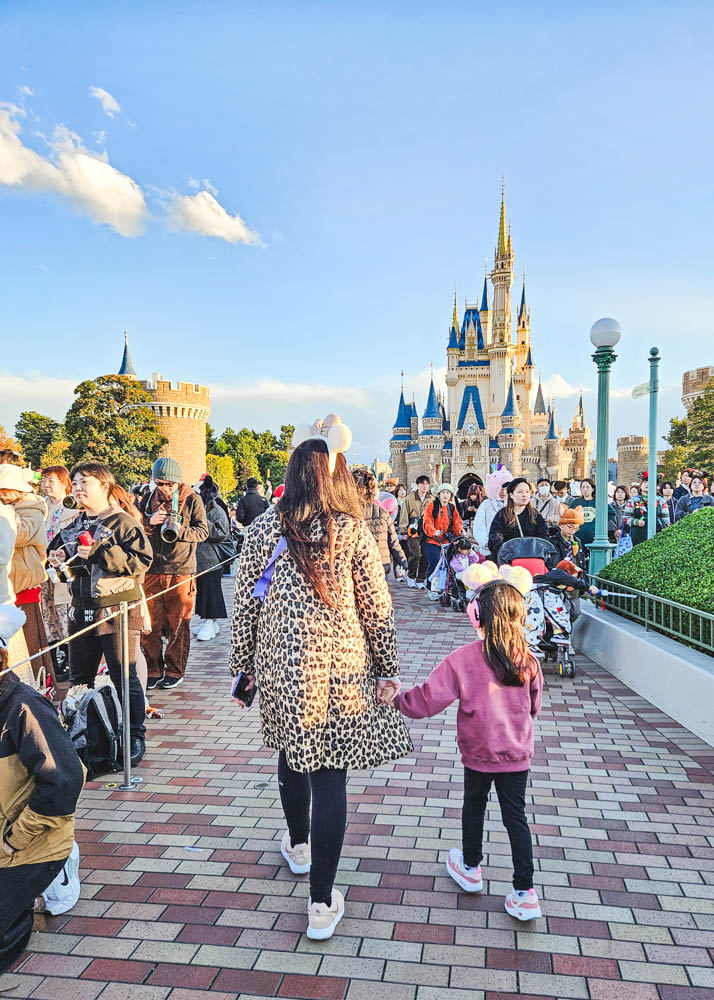
Since we were arriving in Tokyo from Okinawa, we didn’t need to worry about jetlag and thus decided to begin our 3-day Tokyo itinerary with our daughter’s number one bucketlist activity: Tokyo Disneyland!
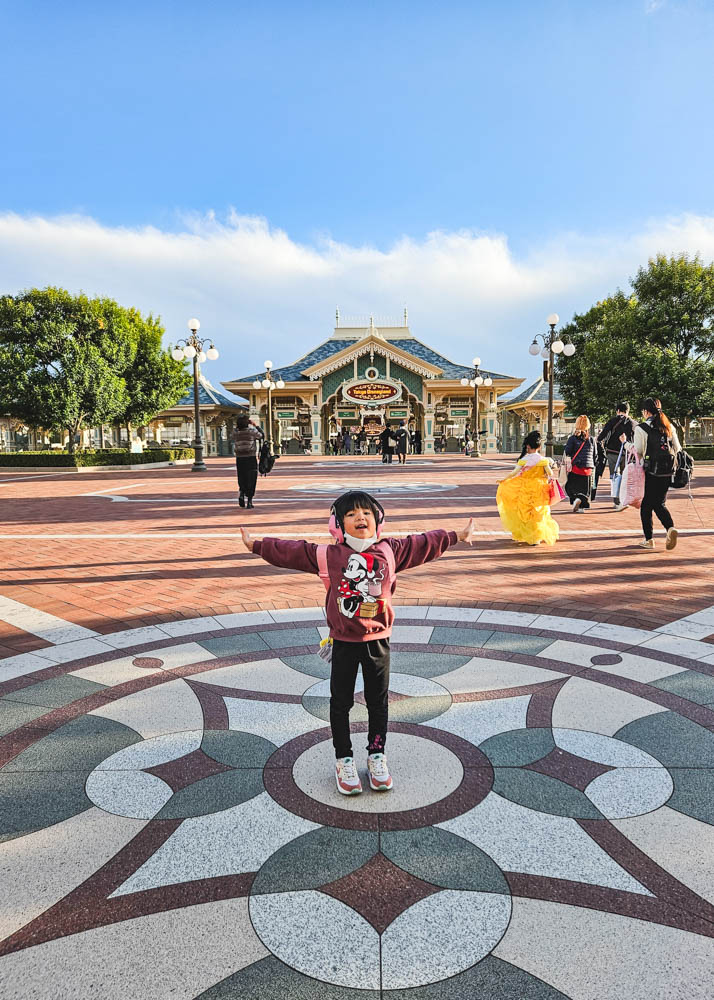
Depending on your arrival, you may want to rearrange the days of this itinerary if you feel you’ll be too tired for Disney on the first day.
Arrival at Narita or Haneda
After arriving at the airport, take the Airport Limousine Bus to Tokyo Disneyland for a fun-filled day!
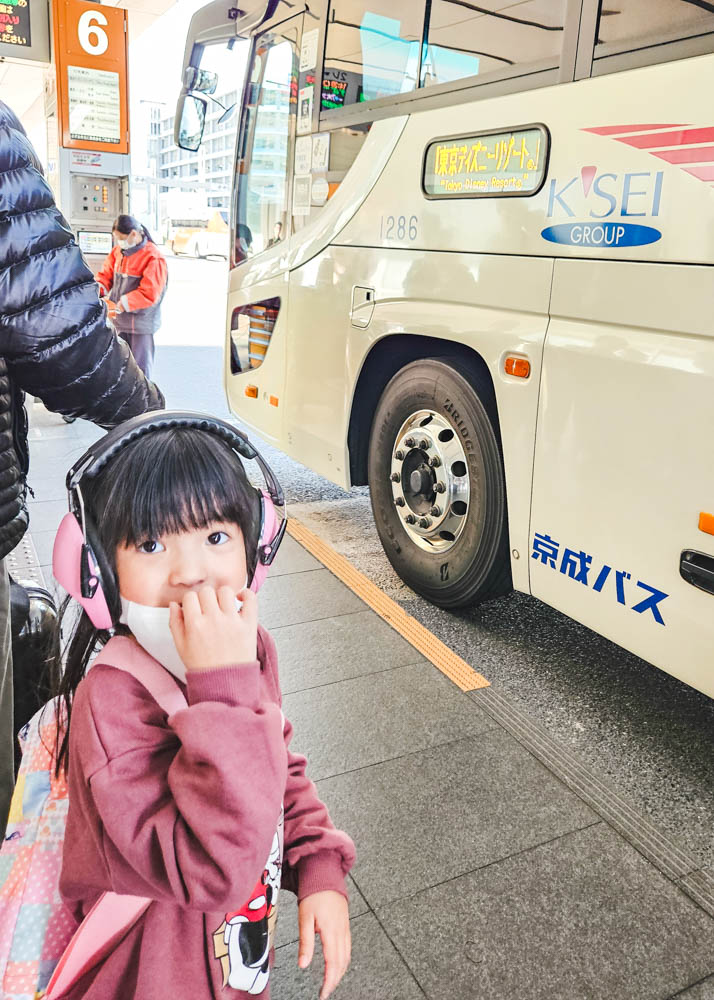
We recommend using a luggage transfer service to send your bags to your hotel. This allows you to visit Tokyo Disney Resort straight away and save valuable time on your itinerary.
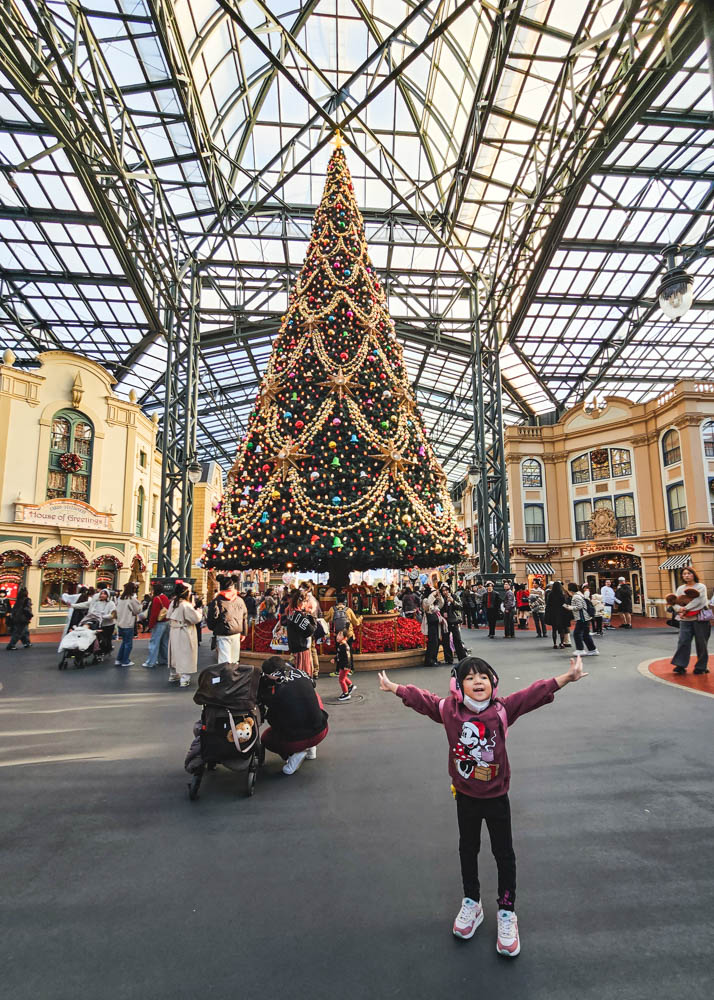
Visit Tokyo Disney Resort
Tokyo Disney Resort consists of two parks: Tokyo Disneyland and Tokyo DisneySea. Since we had already been to Tokyo DisneySea, we chose to visit Tokyo Disneyland this time around. However, if you only have time for one park, we highly recommend Tokyo DisneySea as it is the only one of its kind and often considered as the best Disney park in the world!
The great thing about Tokyo Disney Resort is that the prices are much more reasonable than Disney Resorts in America. Also, even though the parks get extremely busy here, we felt they were less chaotic than in the States. The line-ups were very orderly and efficient.
One day is enough to fully enjoy one of the two parks. We ate dinner at the park, stayed until closing, and then took the complimentary hotel shuttle to the Hyatt Regency Tokyo Bay for our one-night stay.
Read our detailed 1-Day Tokyo Disneyland Itinerary!
Day Two
Day two takes us into the city center where we’ll explore the neighbourhoods of Ebisu, Azabudai and the famous Shibuya!
Breakfast
Enjoy a leisurely start to the day with a light breakfast – gotta save room for all the delicious food to come! The Hyatt Regency Tokyo Bay has a nice buffet breakfast but we decided to eat some convenience store pastries from Lawson’s instead to save our appetite.
We had picked up pastries the day before, but there’s also a Lawson’s next door to the Hyatt Regency Tokyo Bay, within the Comfort Suites Tokyo Bay Hotel.
Take the subway to Ebisu
After checking out of the hotel, take the complimentary hotel shuttle to Shin Urayasu Station. From here, we’ll head to our next destination – Ebisu! Ebisu is a trendy and upscale neighbourhood known for its bars and restaurants.
Take the Keiyo Line to Hatchobori Station where you’ll transfer to the Hibiya Line to get to Ebisu Station. Google Maps works perfectly for figuring out the subway directions and timings.
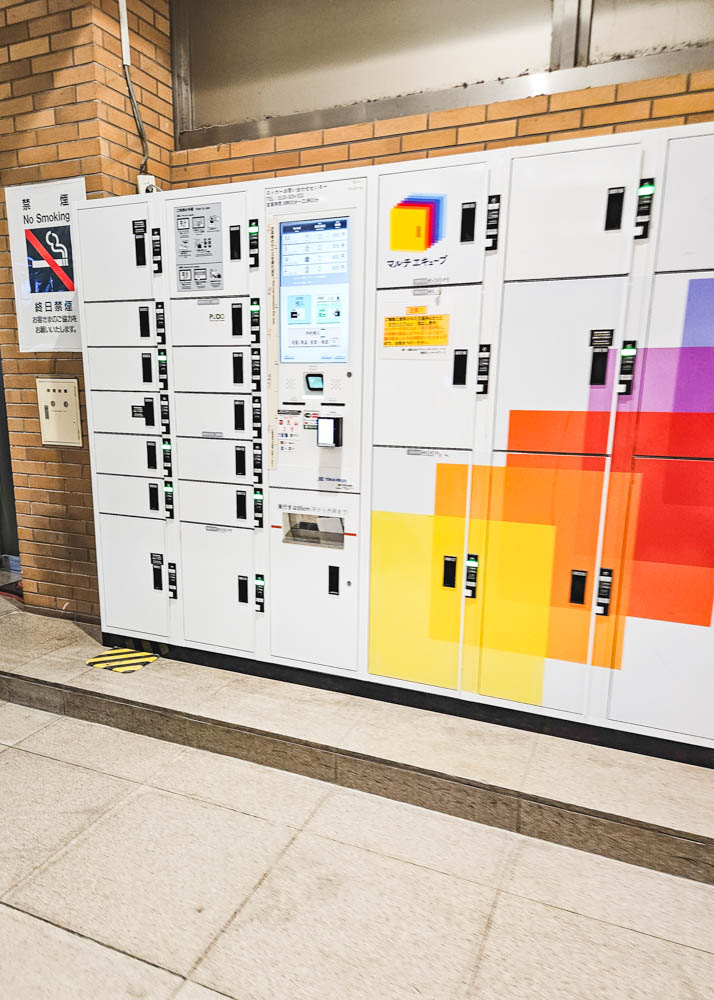
If you’ve got luggage with you, use one of the lockers at Ebisu Station or make a quick stop at the nearby Westin Tokyo, where we recommend you spend the night, to store your bags.
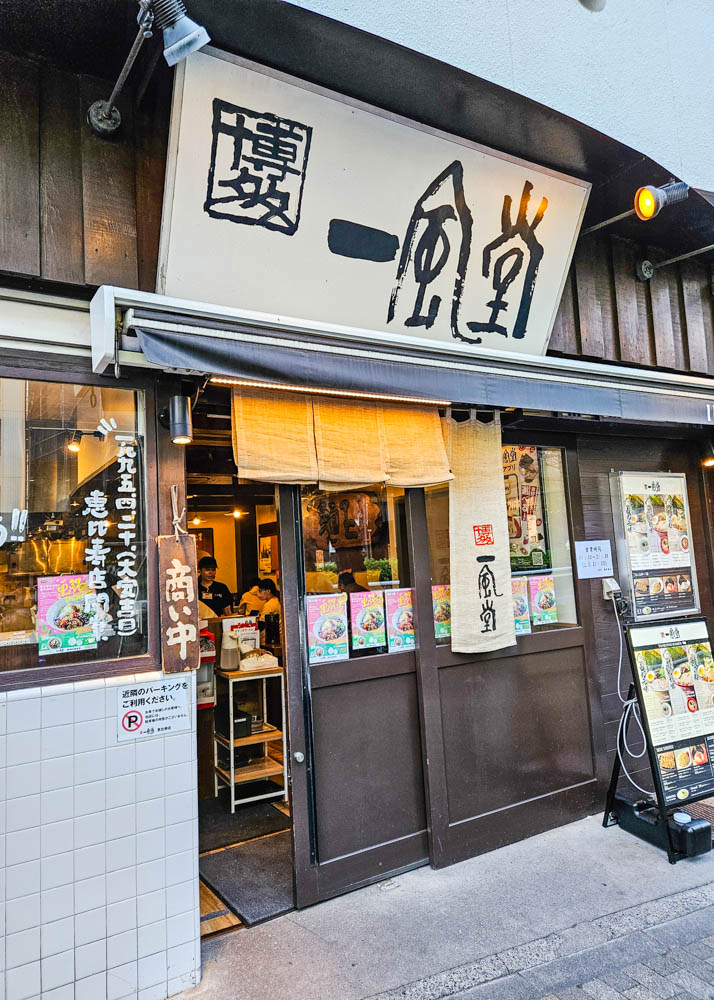
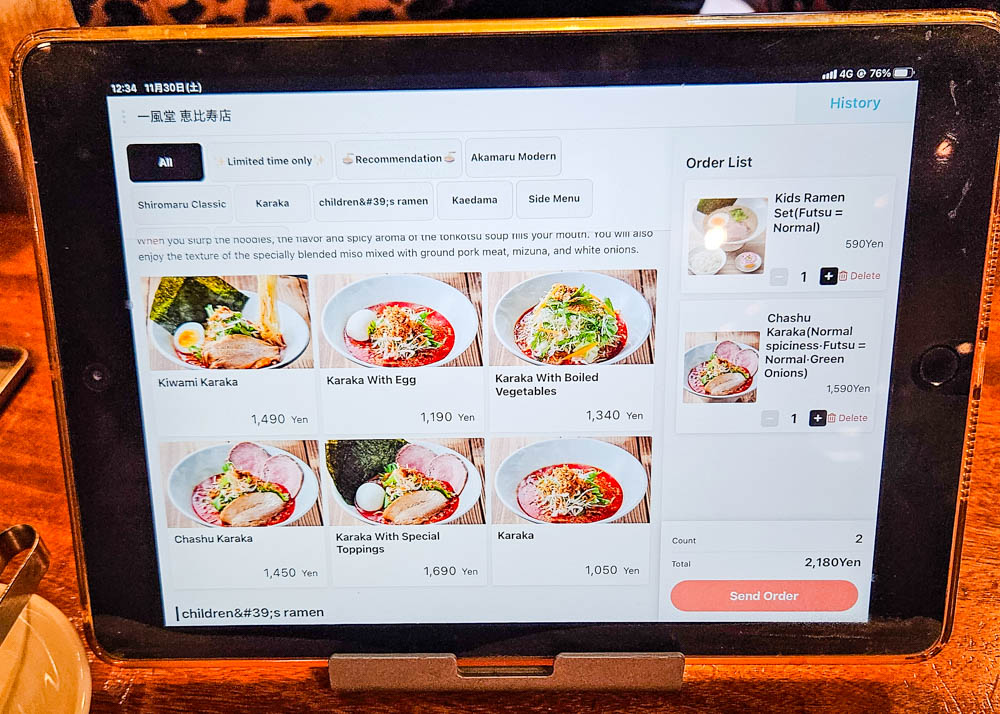
Lunch at Ippudo – Ebisu
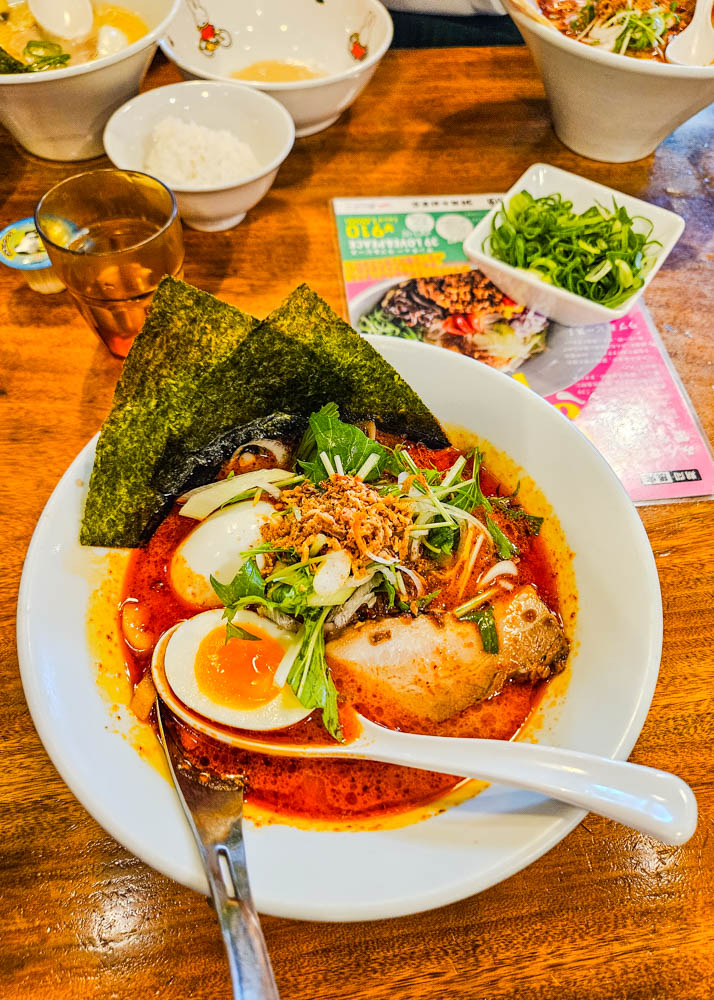
Head to Ippudo for a delicious lunch! This popular restaurant is known for its ramen. In fact, when we asked our Japanese exchange students where we should go for ramen, this is where they took us as they said it’s the best.
If you like spice, they make a delicious spicy ramen.
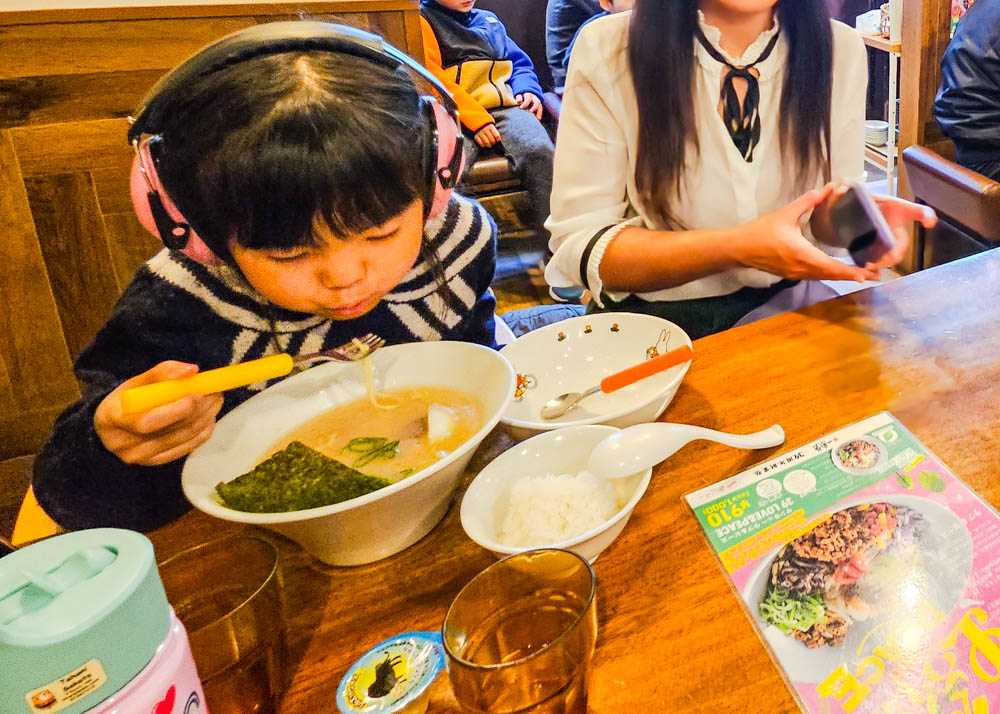
They also offer children’s ramen so it’s perfect if you’re visiting with kids!
There are tablets at each table which make ordering very easy as the menu can be translated to English. The restaurant accepts payment by any major credit card, including Amex.
Bonus: If you’re visiting during the spring, Ippudo – Ebisu is located on Meiji Dori which is a popular street for viewing cherry blossoms!!
Hours: 11:00am-9:30pm daily
Check into The Westin Tokyo
After wandering the laidback streets of Ebisu, check into your hotel for the night: The Westin Tokyo.
Take some time to relax and freshen up a bit before we’re off for more exploring!
Afternoon Tea at The Westin Tokyo
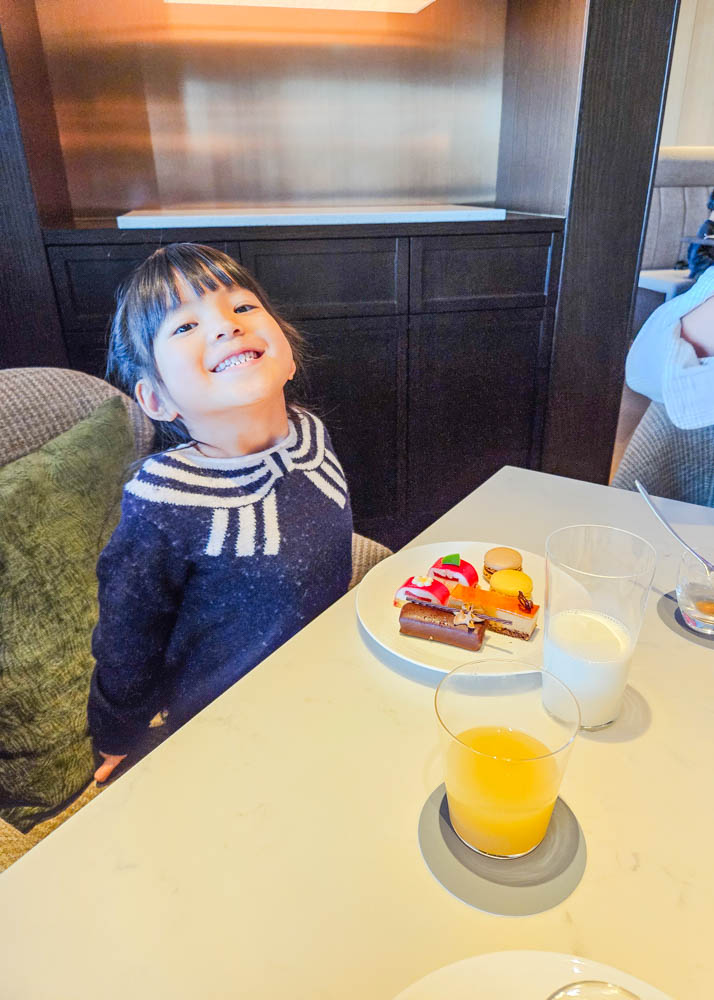
While afternoon tea may not be a very traditional Japanese thing to do, it’s always fun trying it out in different countries. I personally love a good afternoon tea and couldn’t resist trying out what The Westin Tokyo had to offer.
We had access to The Westin Club, which offers a complimentary afternoon tea every day from 2:00-4:00pm. It is offered as a buffet so it’s a less formal affair, but still very good! I was impressed with the quality of the cakes and pastries.
If you do not have Club access, The Westin Tokyo also puts on a wonderful traditional afternoon tea experience in The Lobby Lounge. You can view the current menu and make reservations on their website.
Visit teamLab Borderless Digital Art Museum
After indulging in some afternoon tea, take a walk back to Ebisu Station and catch the subway to teamLab Borderless. You’ll need to take the Hibiya Line and get off at Kamiyacho Station. It’s a direct ride that takes only 9 minutes.
From Kamiyacho station, it’s just a two-minute walk from Exit 5. Walk through the underground passage to remain on Level B1 and follow the signs for “Digital Art Museum”. You do not need to go up to the street level.
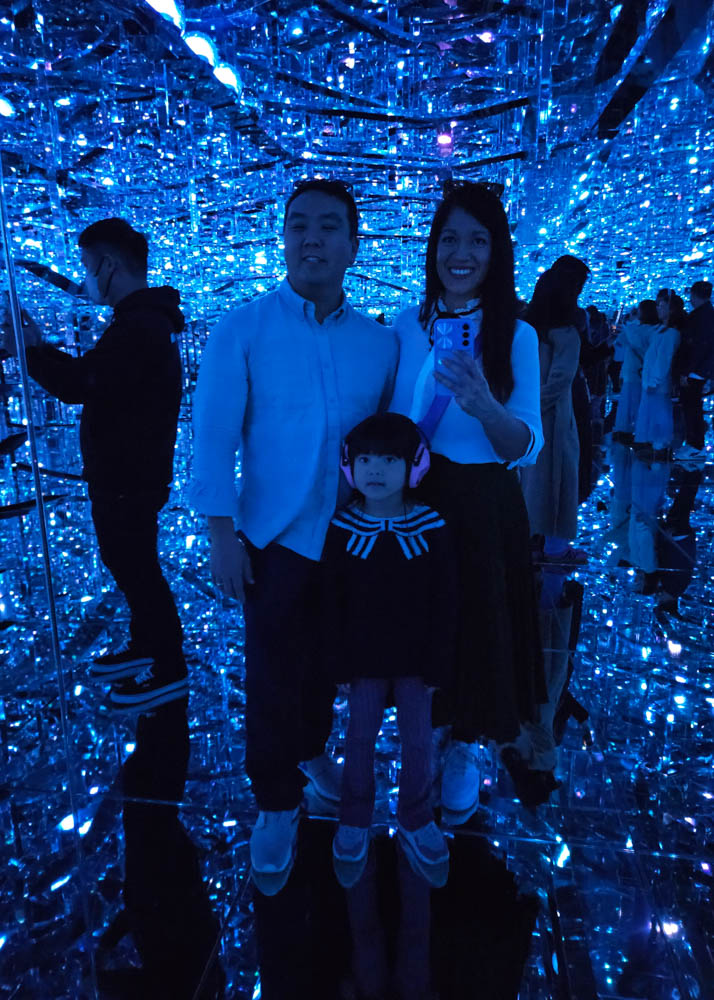
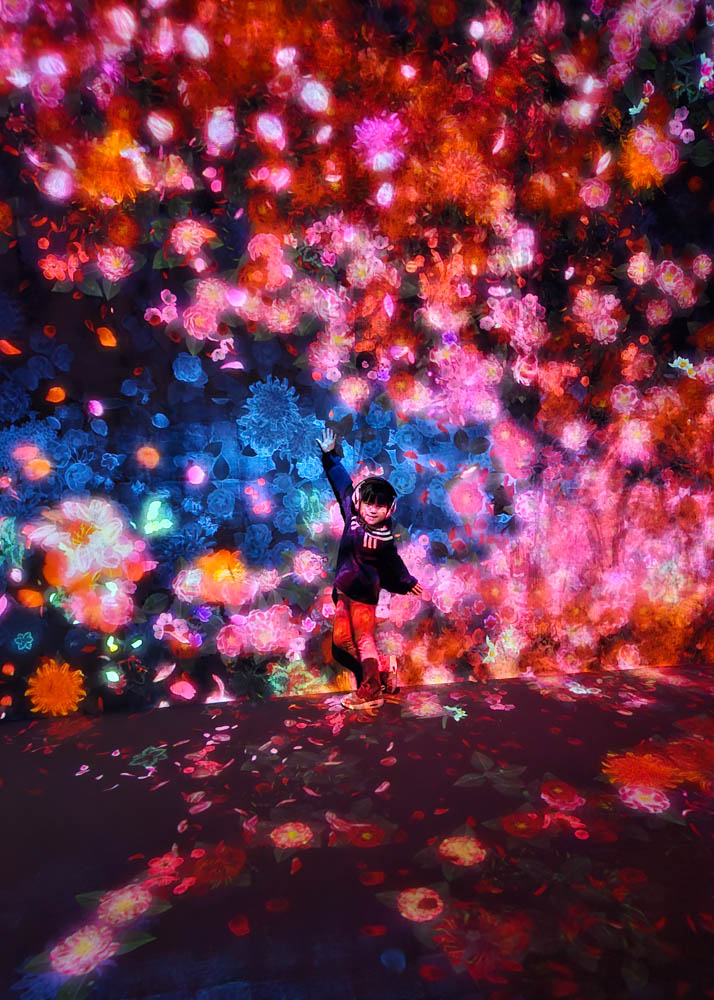
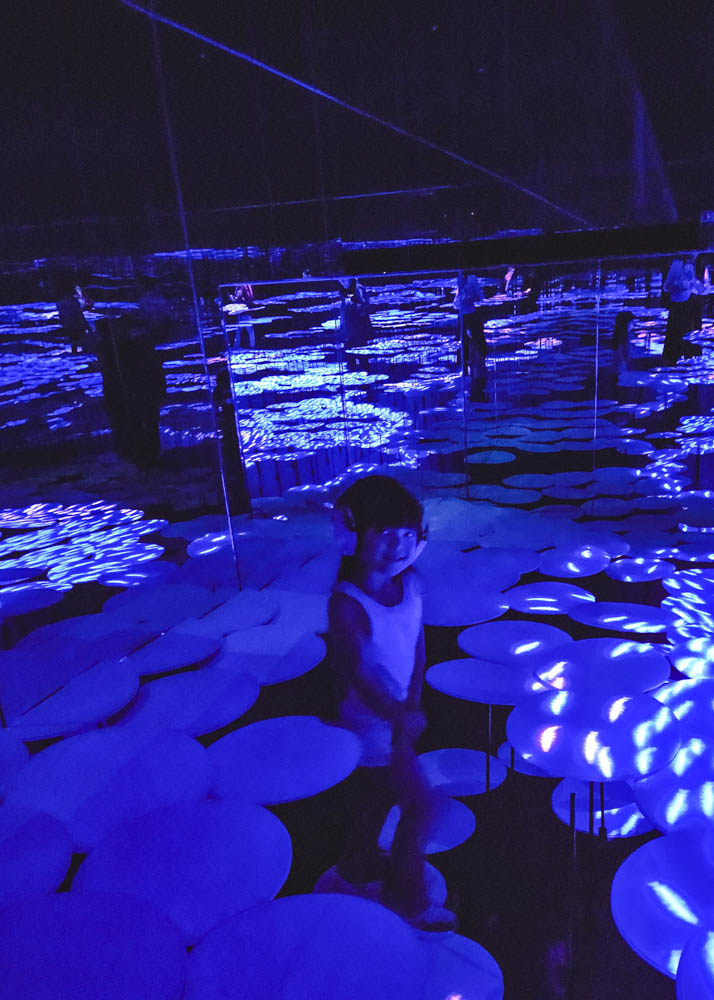
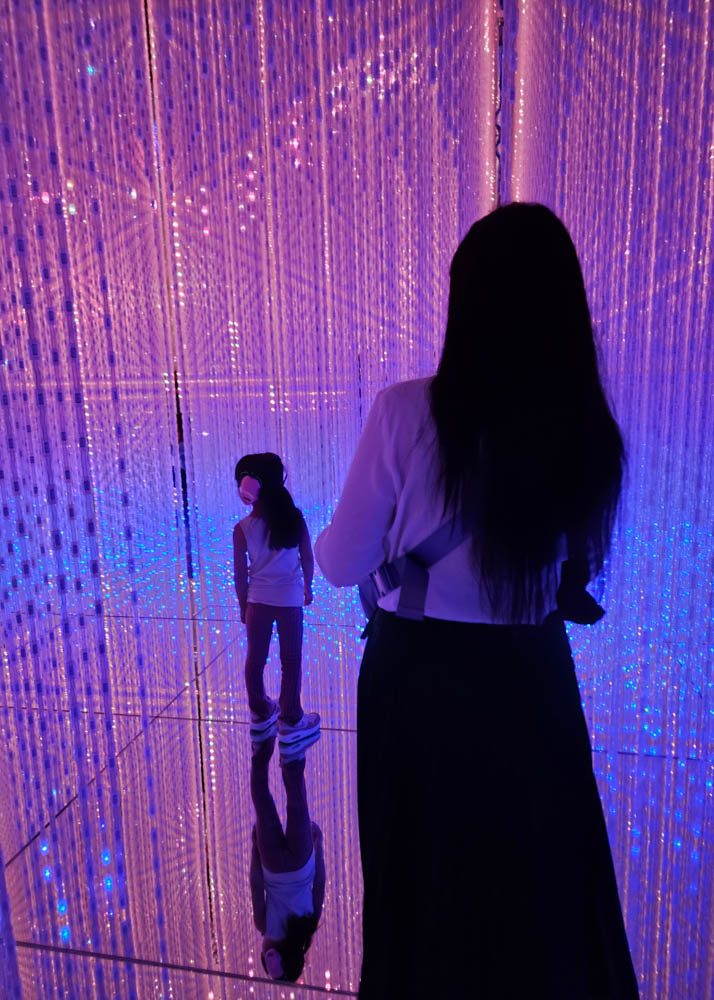
We’ve been to teamLab Future World in Singapore, so we were excited to check out this one in Tokyo. This one absolutely blew us away! It was better than we could have imagined and all three of us loved the interactive exhibits.
It was so special to watch our daughter explore the museum in total awe and amazement.
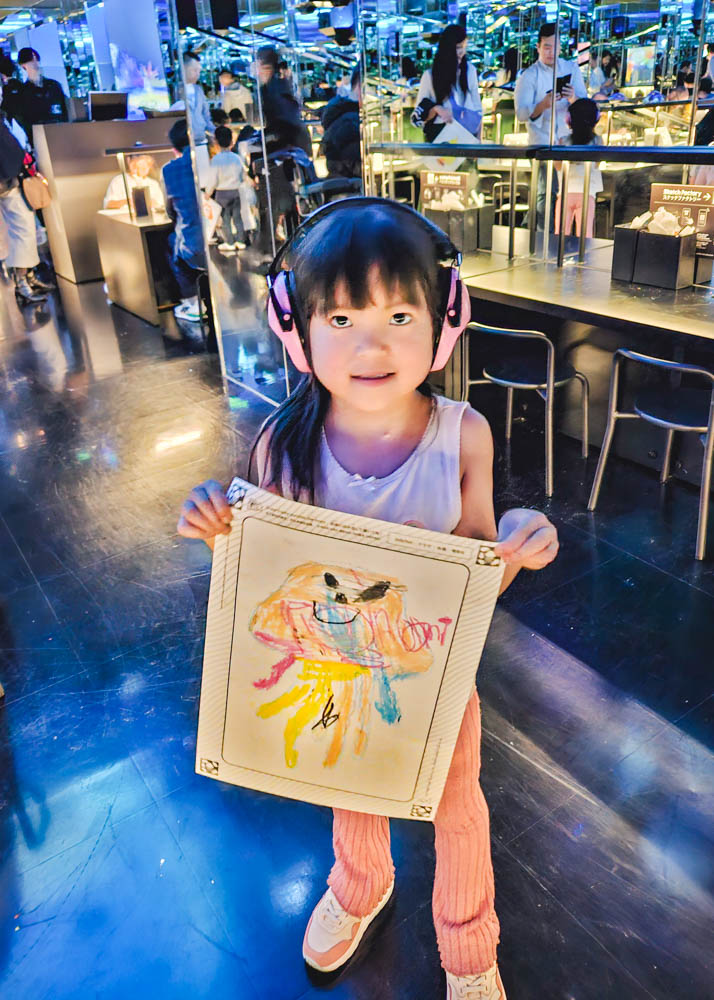
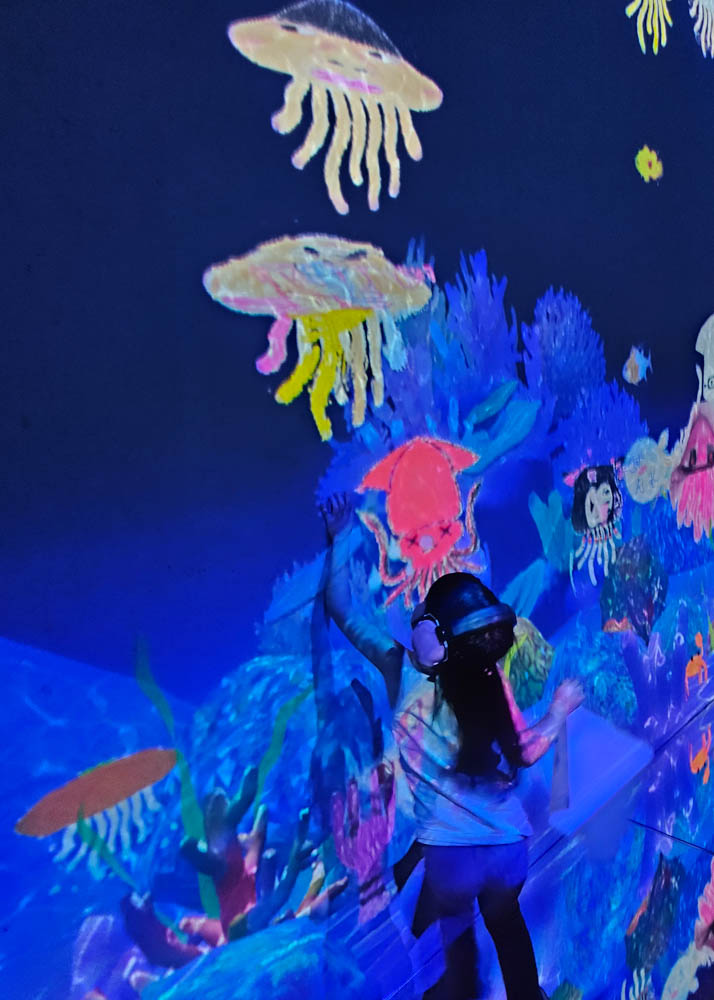
Our daughter especially enjoyed getting to draw her own picture and then watch it transform into real, moving digital art in the Sketch Ocean!
She was thrilled to see her picture come to life and move about the room.
You can honestly spend hours here. We stayed two hours and probably could have stayed another hour. There are so many amazing exhibits.
Make sure to get a map so you don’t miss any! We missed one of the best ones which we didn’t realize until after we exited – so disappointing.
Tip: it gets quite hot inside with all the projectors running so leave your jackets and sweaters in the lockers at the entrance! We were sweating.
- Hours: 9am-9pm daily
- Price: ¥3,600-4,000 (adults 18+), ¥2,800 (13-17), ¥1,500 (4-12), free for 3 and under
- Tickets: Tickets are timed so it’s recommended to purchase them online in advance as they do sell out! We bought ours on Klook.
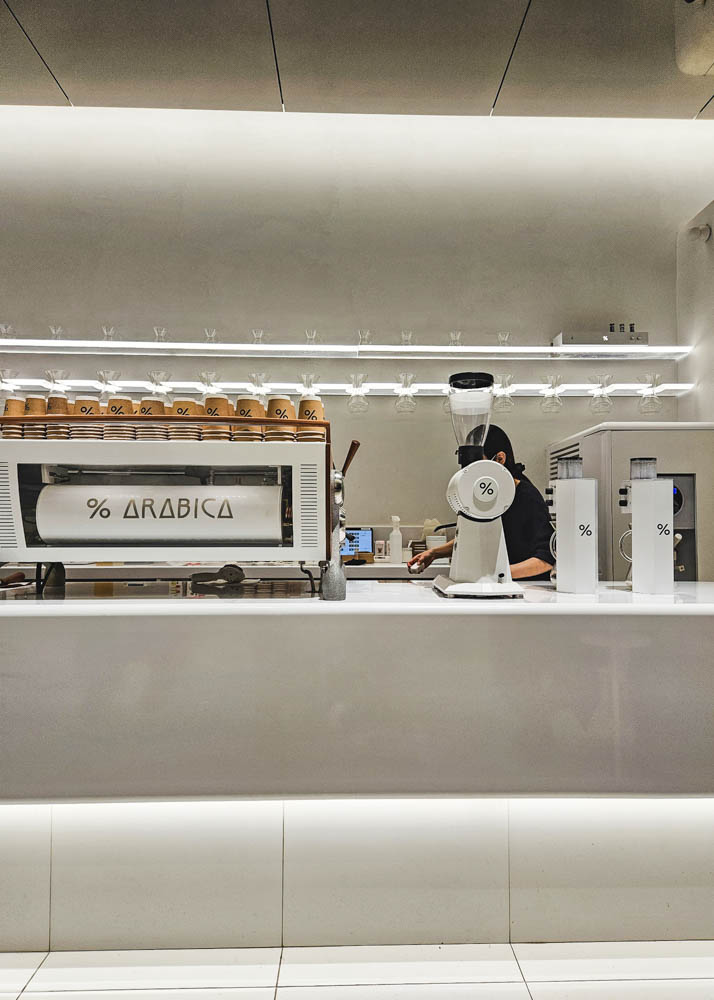
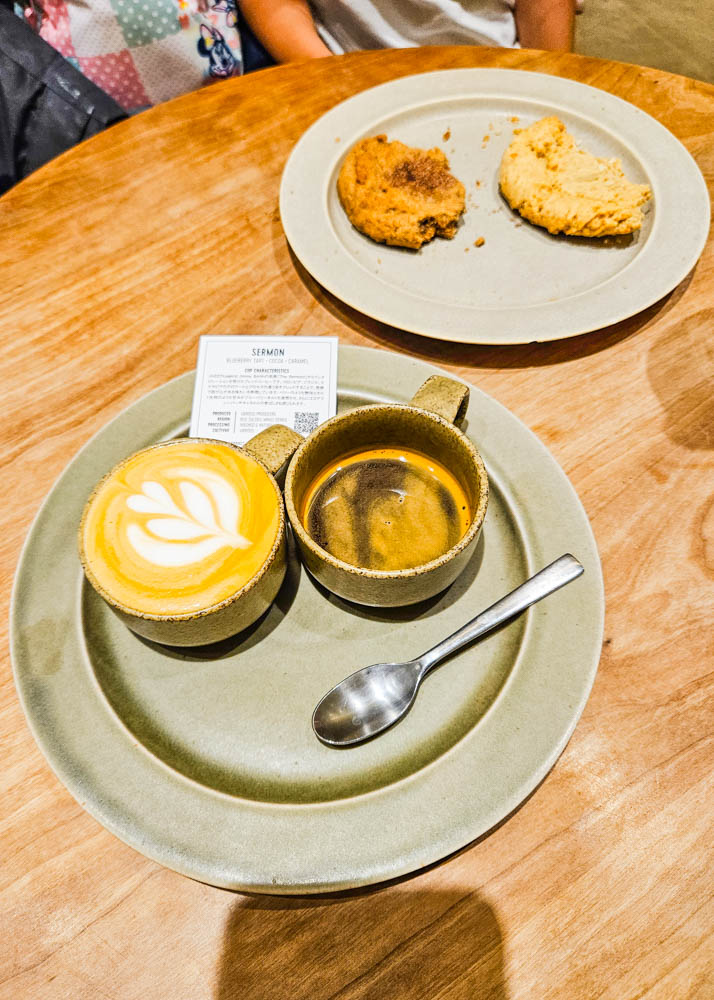
Coffee at %Arabica
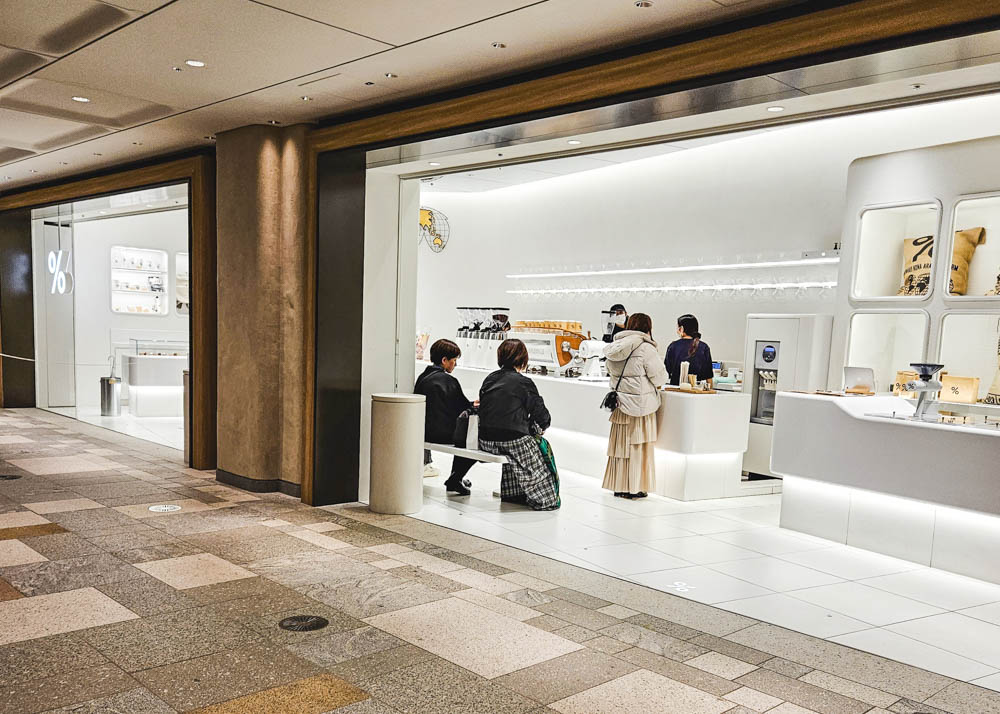
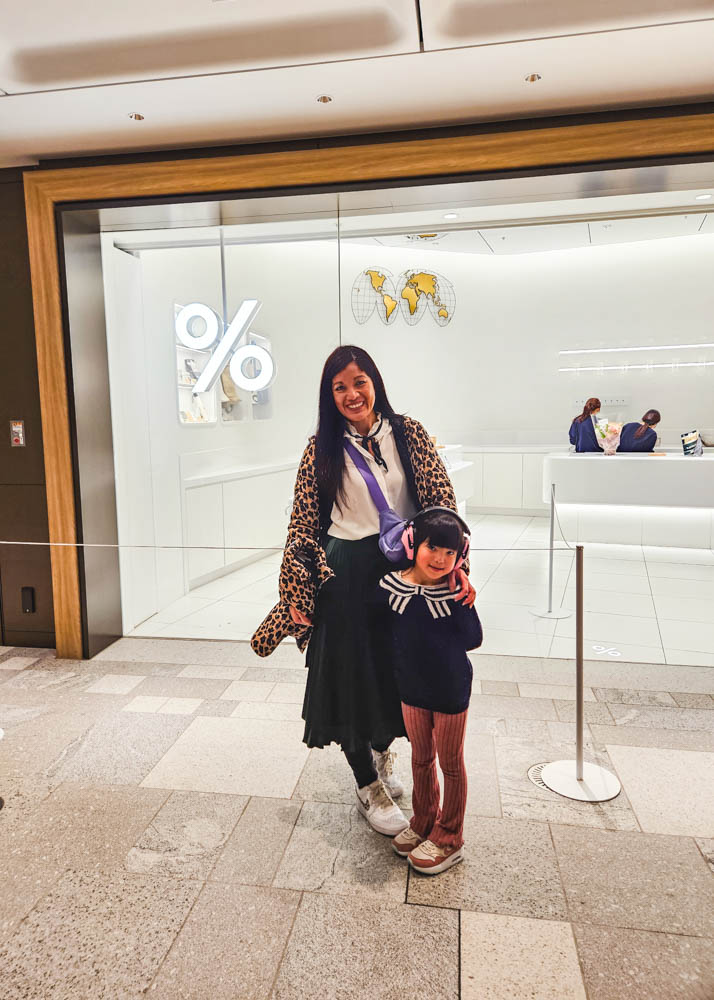
Time for a pick-me-up! If you’re a coffee-lover like me, you’ve got to check out the popular %Arabica coffee shop.
This Japanese coffee brand is now located all over the world with 130 locations. Conveniently, they have one right here in Azubudai Hills on Level B1, just a few steps from teamLab Borderless.
The shop itself is very attractive with its clean, minimalist aesthetic. I couldn’t wait to try their coffee to see if it lived up to the hype.
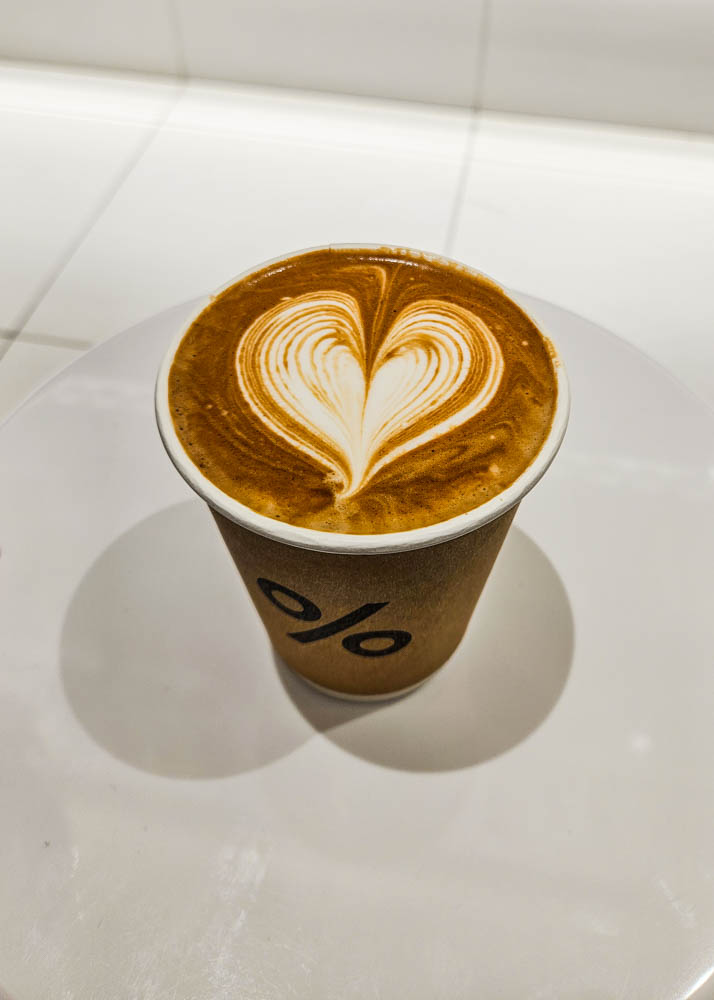
I ordered a cafe latte for ¥650, which is a bit steep, but it did not disappoint!
Hours: 8am-8pm daily
Dinner at Fuji Soba
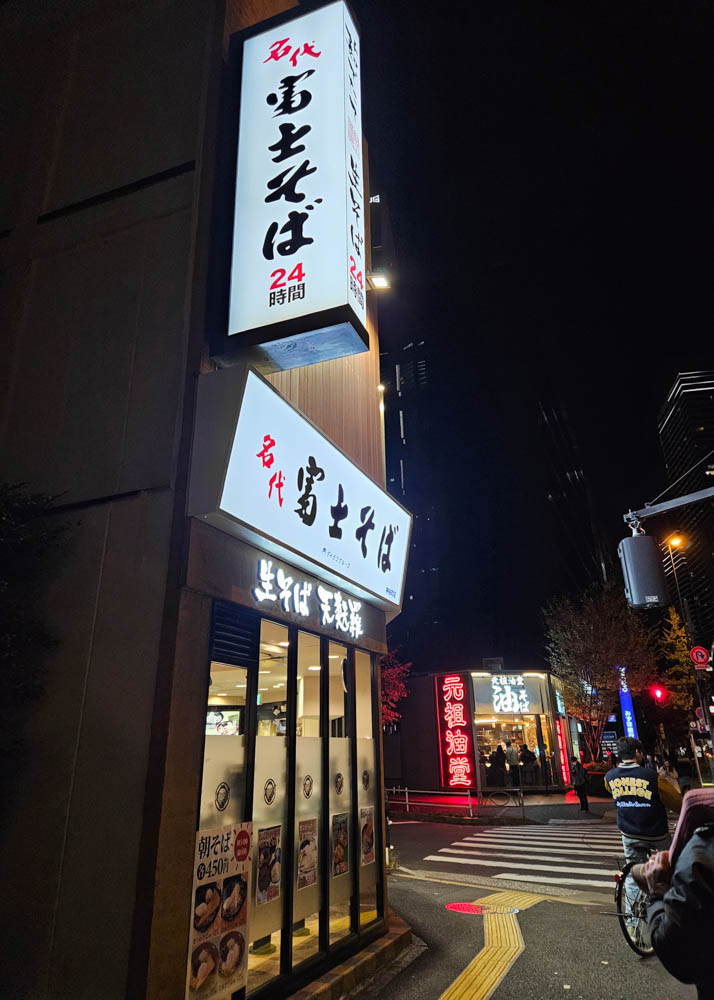
After a quick coffee break, let’s head to dinner. There are a ton of restaurants within Azabudai Hills but they all looked more upscale than what we were looking for. So, we headed out onto the street in search of something more laidback and local.
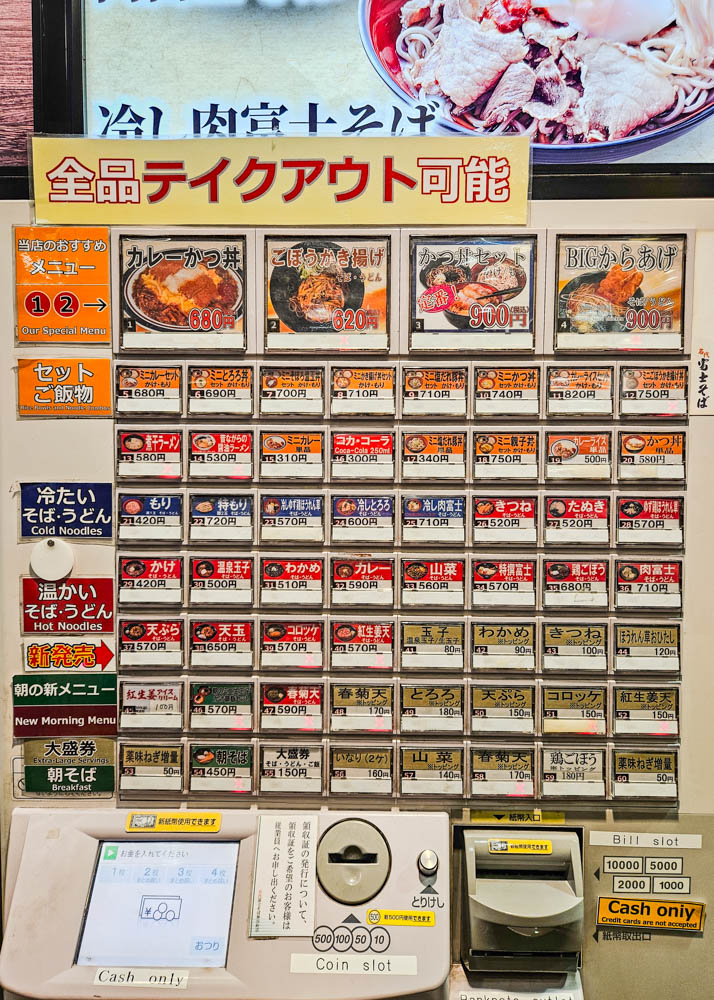
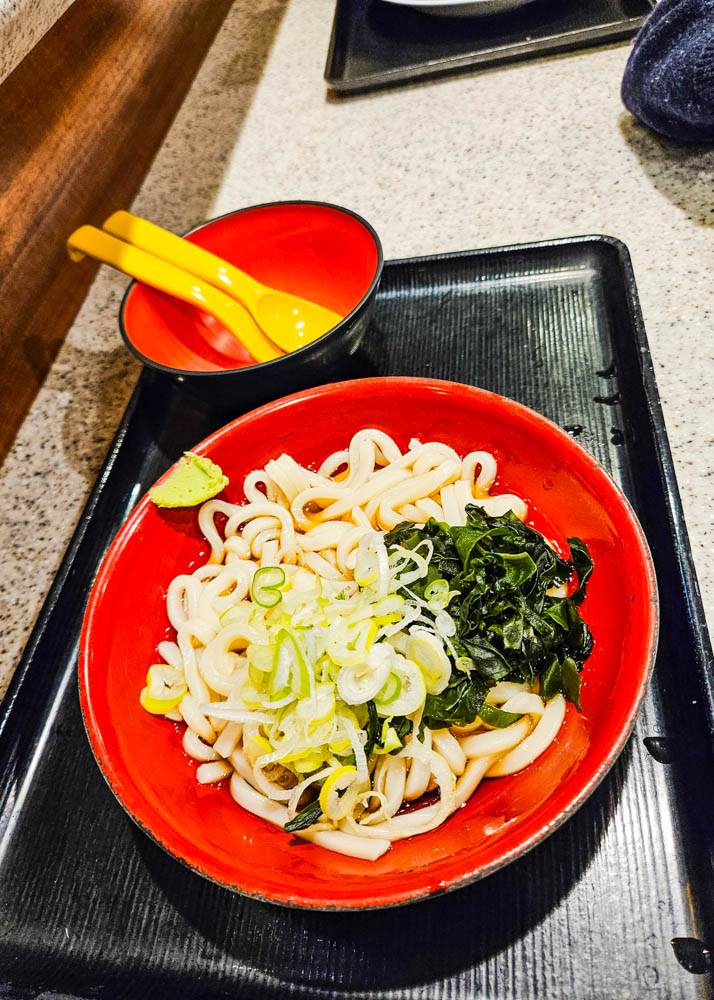
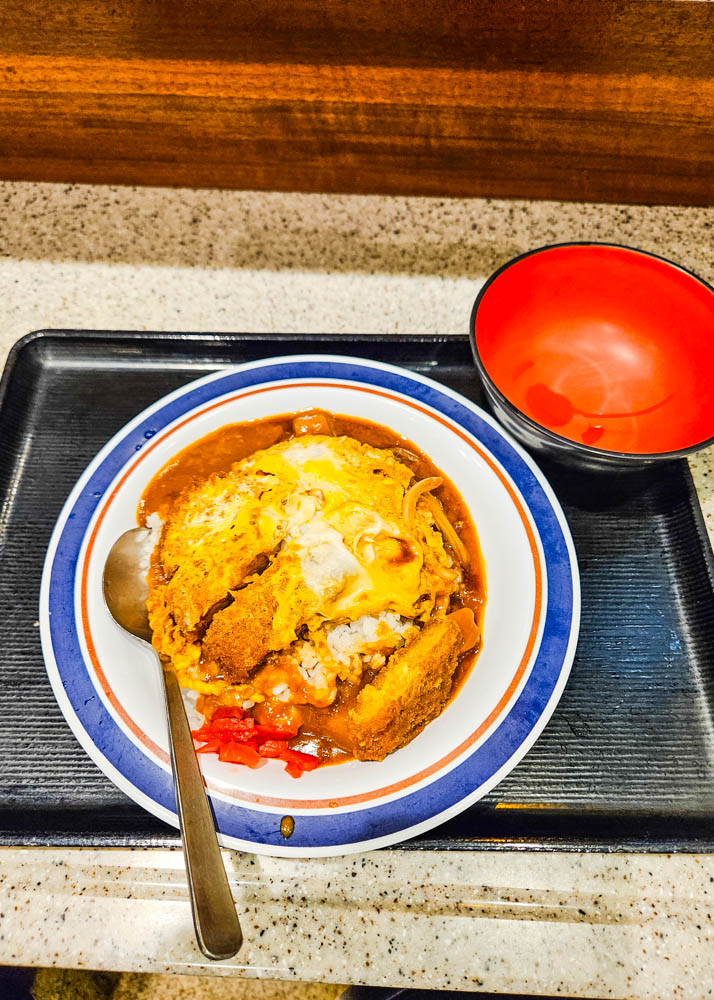
Two minutes down the street, we found Fuji Soba and it was just what we were searching for. A casual soba shop with no English to be seen and you order from a ticket machine at the entrance.
We used Google Translate to help us with the menu and the staff came over to help us with the machine. They were so kind, and although they didn’t speak English, they did their best to help us.
The food came out very quickly and was delicious. Prices were very reasonable as well. We ordered udon for ¥420 and the curry pork cutlet for ¥680. Note that this restaurant is cash only.
Hours: 4am-2:45am daily
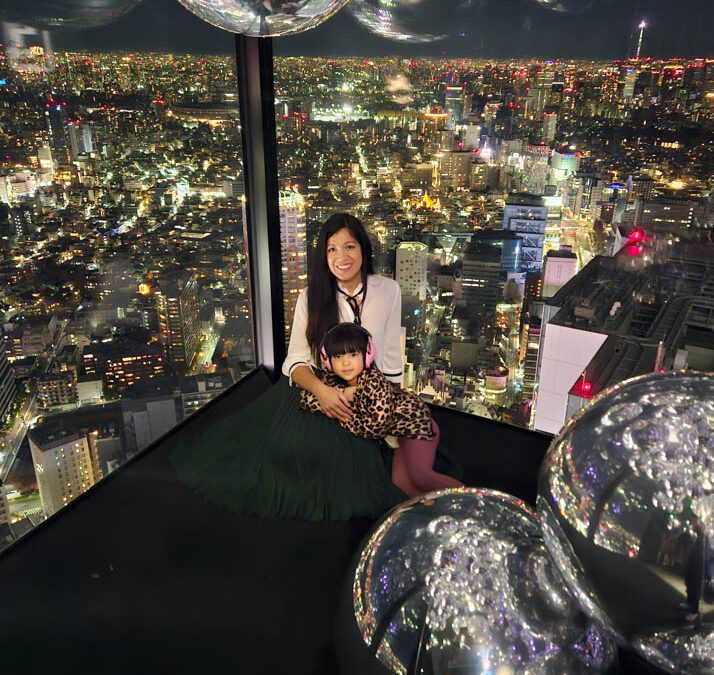
Head up to Shibuya Sky
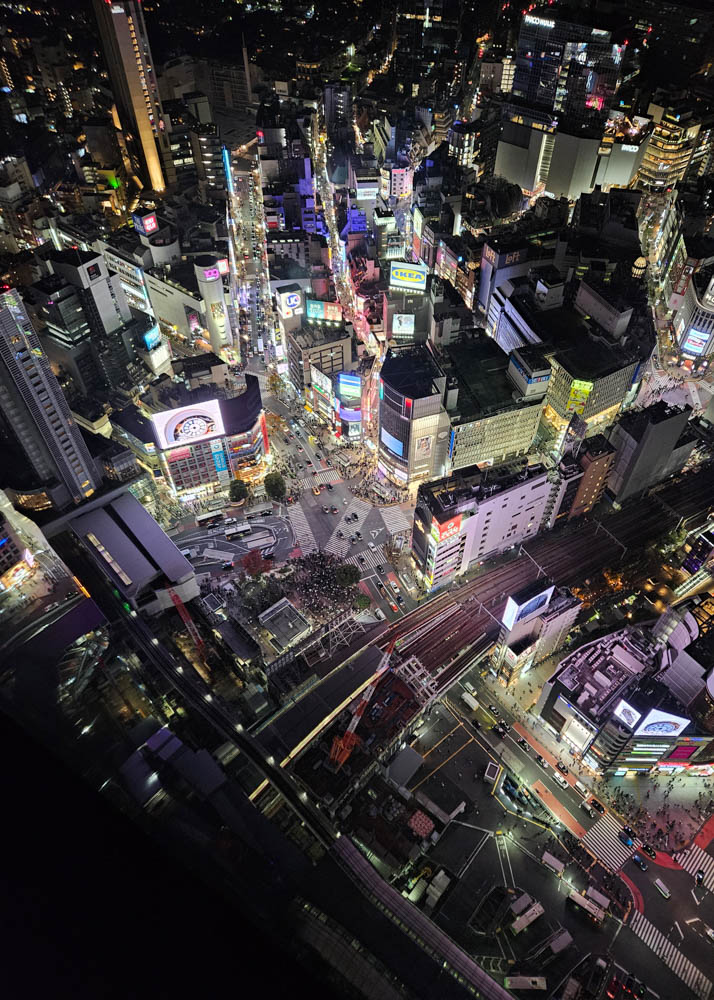
After dinner, hop back onto the subway and head to famous Shibuya! Here we will head up the Shibuya Scramble Square building to Shibuya Sky.
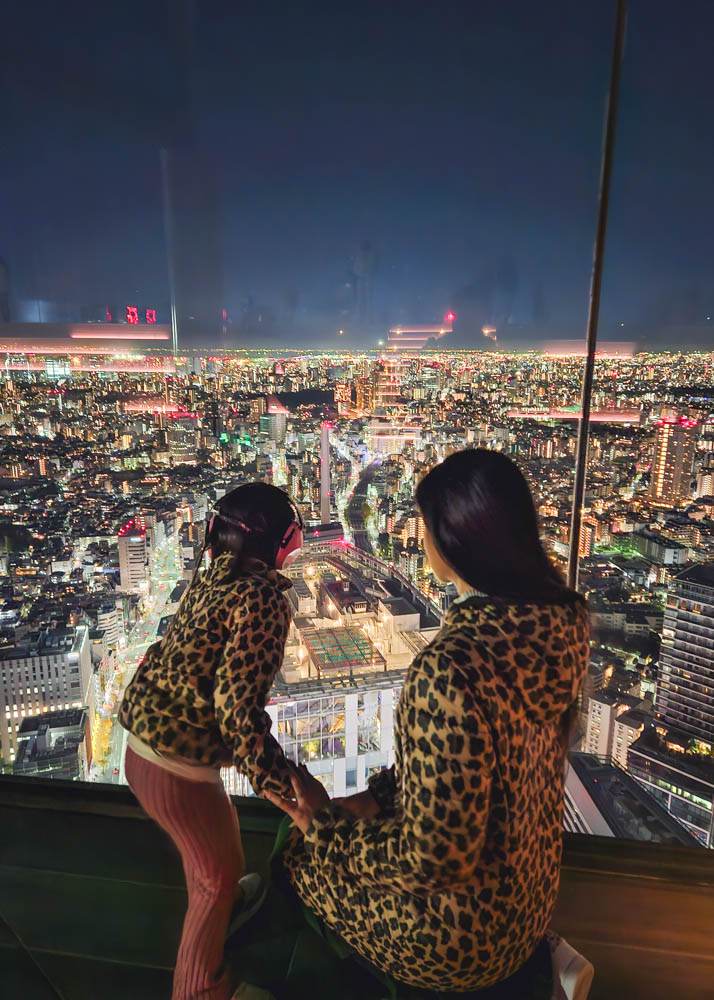
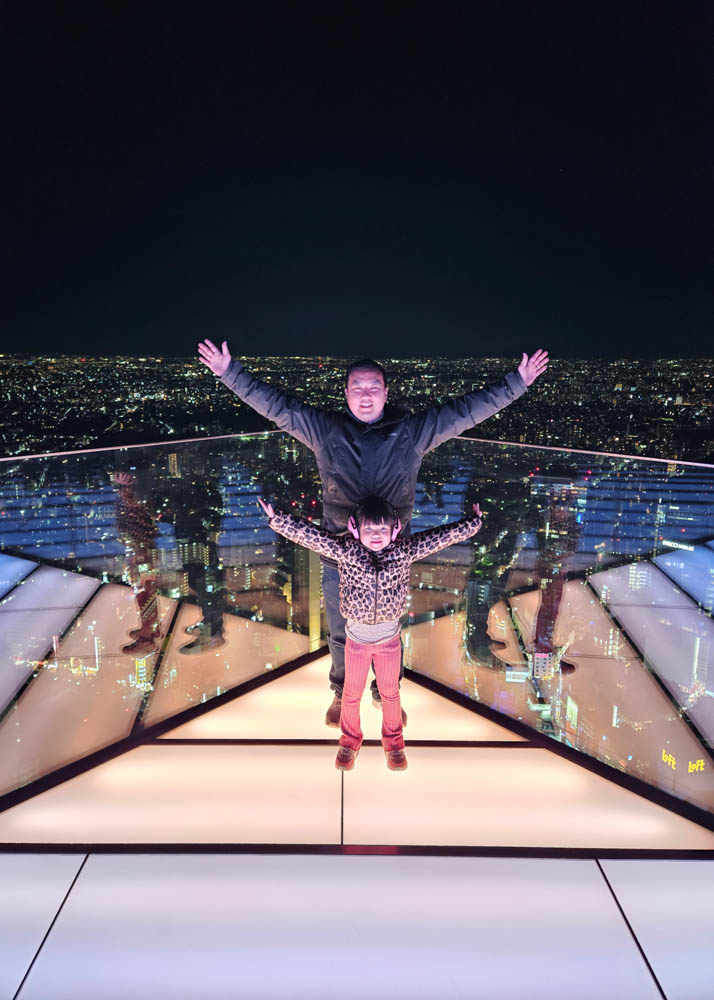
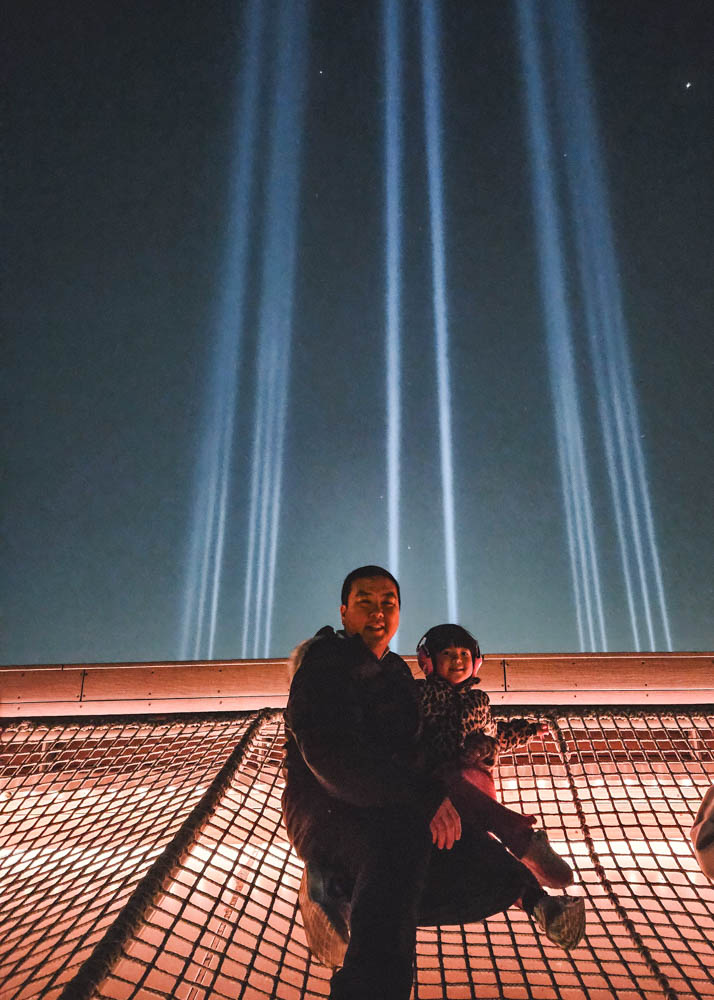
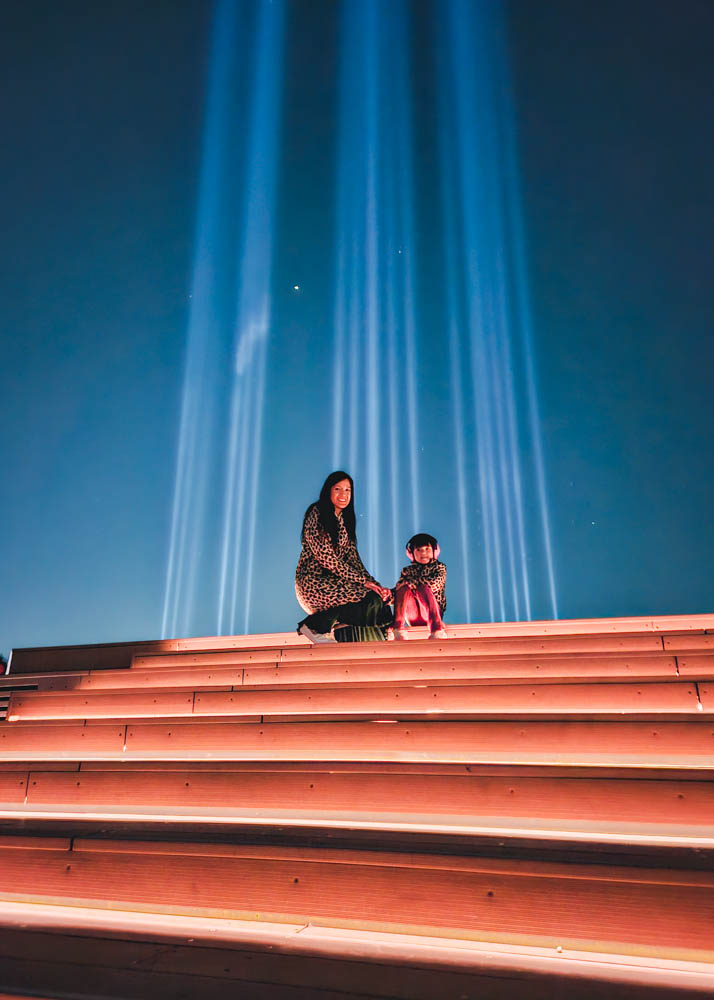
There are many amazing viewpoints around the city, but because we only had three days in Tokyo, we limited ourselves to going to just one. We chose Shibuya Sky because of its awesome Sky Edge which is great for photos due to its low glass barriers.
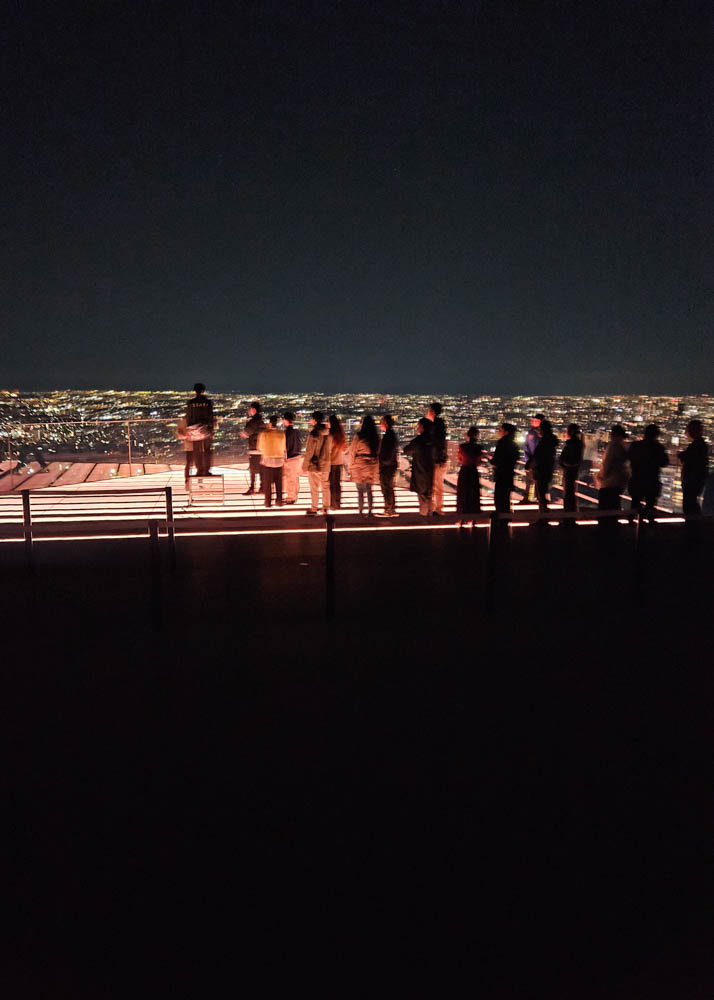
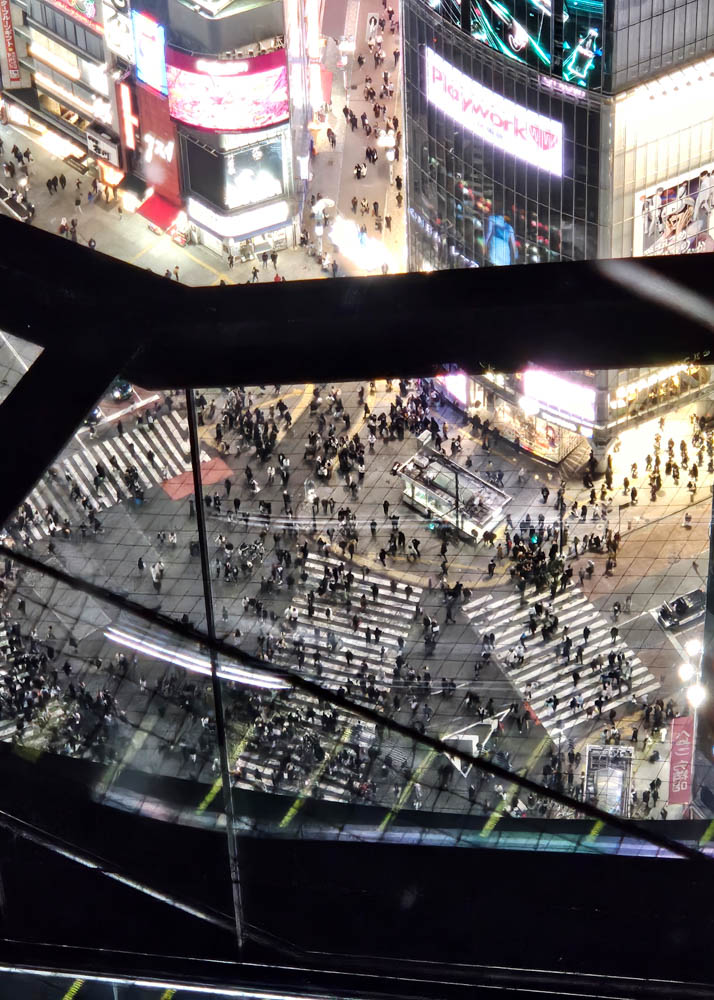
The tower offers amazing 360 degree views from the open-air observation deck on the rooftop. From here you can look all the way down below to the famous Shibuya Crossing.
There’s also the Cloud Hammock where you can relax and admire the Tokyo skyline.
Throughout the year there are various seasonal events such as light shows, pilates, music and theatre shows, and more.
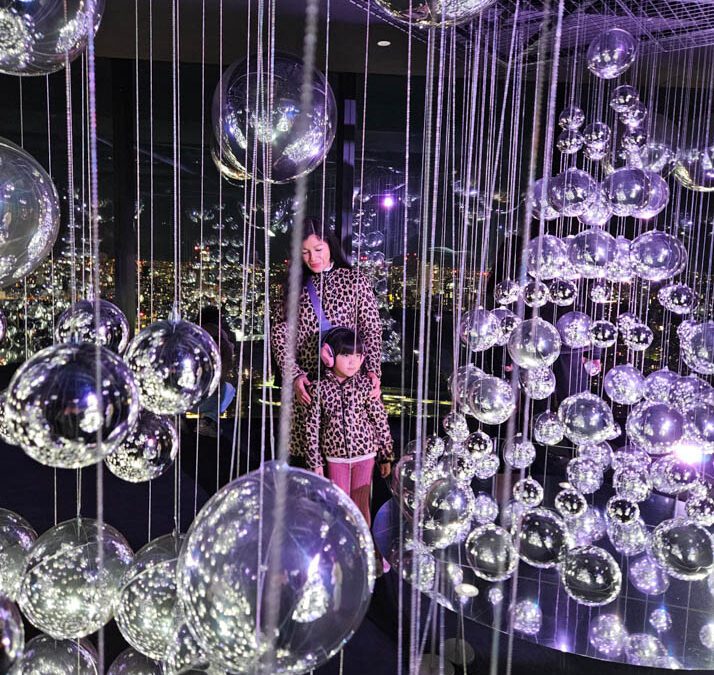
Back inside onthe 46th floor, there is the Sky Gallery with a number of nice exhibits as well.
Hours: 10am-10:30pm (last entry at 9:20pm)
Tickets: ¥2,500 (adults 18+), ¥2,000 (Junior & High School students), ¥1,200 (Elementary students), ¥700 (children 3-5), under 3 free of charge
Things to note
- Adult and Junior/High school student tickets can be purchased online in advance and it is highly recommended to do so as time slots sell out, especially those around sunset!
- If you want a sunset or evening time slot, you’ll want to book as far out as possible (4 weeks). We bought our tickets on Klook 3.5 weeks ahead of time and at that time, sunset slots were already sold out.
- Children’s tickets can only be purchase on-site and can be done so when it is your time to enter. We were not allowed to purchase them before our time slot started. It was a quick process, however.
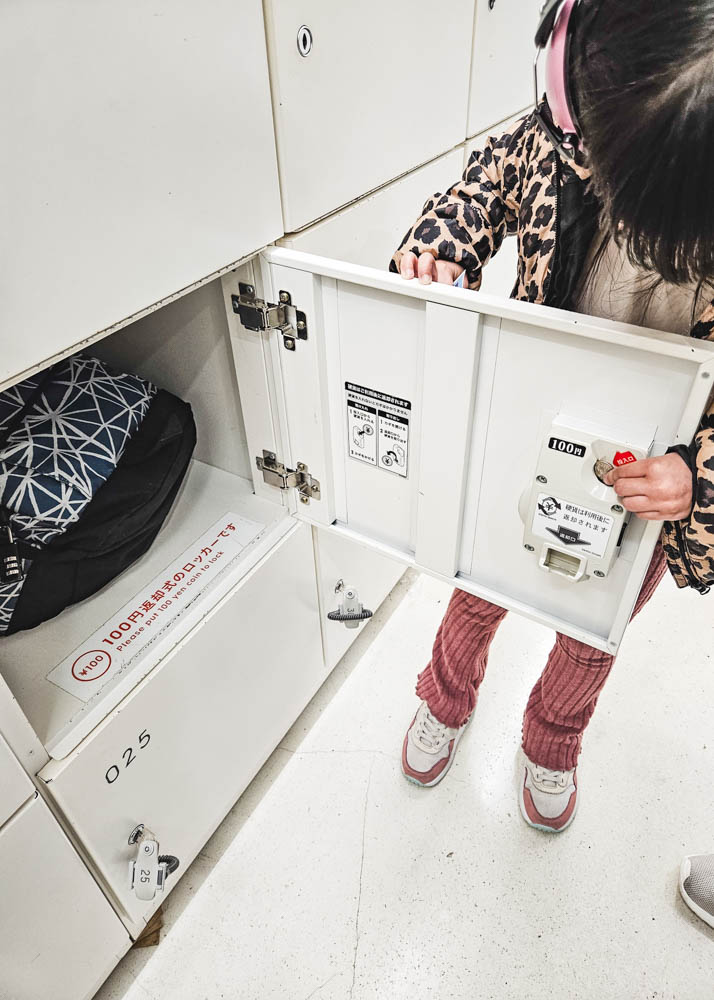
- Shibuya Sky is quite strict with what you can bring out on the rooftop. Before heading out, you are directed to place all your belongings inside a locker on the 46th floor (which you’ll need to bring a ¥100 coin for – it gets refunded).
- The only things you are allowed to bring outside are cameras and binoculars with a neck strap or those that are pocket-sized, and a phone. No bags, hats, scarves, earphones, food, drinks, selfie sticks, strollers, etc. I wore my crossbody bag under my jacket which was fine, and our daughter was given special permission to wear her headphones due to sensory sensitivities.
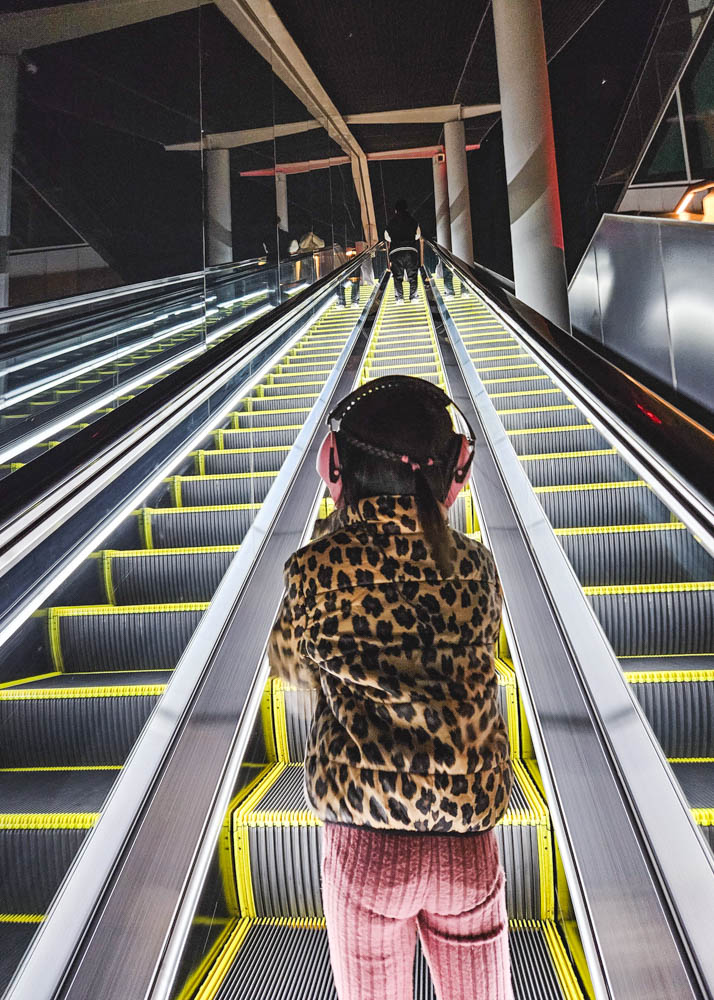
- Access to Shibuya Sky is located on the 14th floor of the building. You’ll need to take the elevator up to the 14th floor but even the elevator has a lineup. Make sure you factor in this extra time since tickets have timed entry.
- If you arrive at the 14th floor too early, you will not be permitted to head up to Shibuya Sky, but there are shops, bathrooms, and chairs where you can wait.
Shibuya Scramble Crossing
After viewing Shibuya from up above, come back down to street level and experience the world-famous Shibuya Scramble crossing! With as many as 3000 people crossing at a time, this is the world’s busiest pedestrian crosswalk. It’s such a fun experience getting to be right in the middle of it all.
After crossing, we stumbled upon an informal car meet-up on the side of the street. Ryan couldn’t help but stop to admire all the cool cars.
By this time, our daughter had hit her limit and was ready to call it a night. However, if you still have energy, there’s a lot more to see in Shibuya and you can continue on exploring into the night!
Day Three
The last day of our 3-day Tokyo itinerary takes us to the traditional and atmospheric area of Asakusa.
Buffet Breakfast at The Westin Tokyo
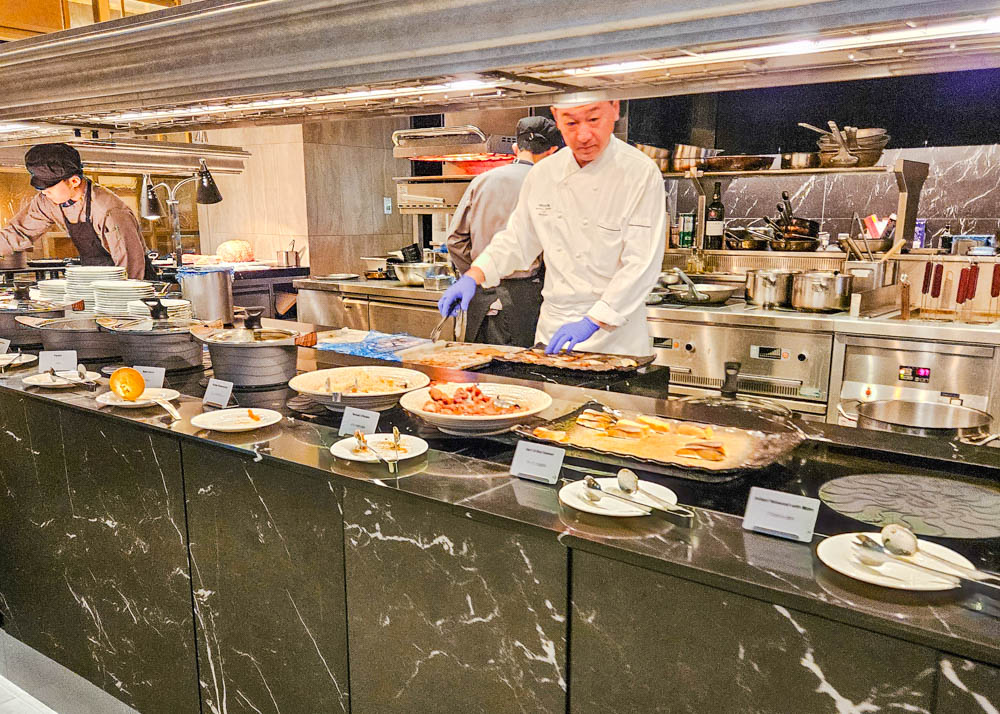
Start your day off well with the amazing buffet breakfast at The Westin Tokyo. The wide selection of offerings here is sure to please everyone.
We enjoyed noodles, pastries, nigiri, and even Indian food that left us satisfied for a busy morning and afternoon of exploring.
Take the subway to Asakusa
After breakfast, take the Hibiya Line from Ebisu Station to Higashi-ginza Station. There, transfer to the Asakusa line and get off at Asakusa Station. The entire journey will take you about 45 minutes.
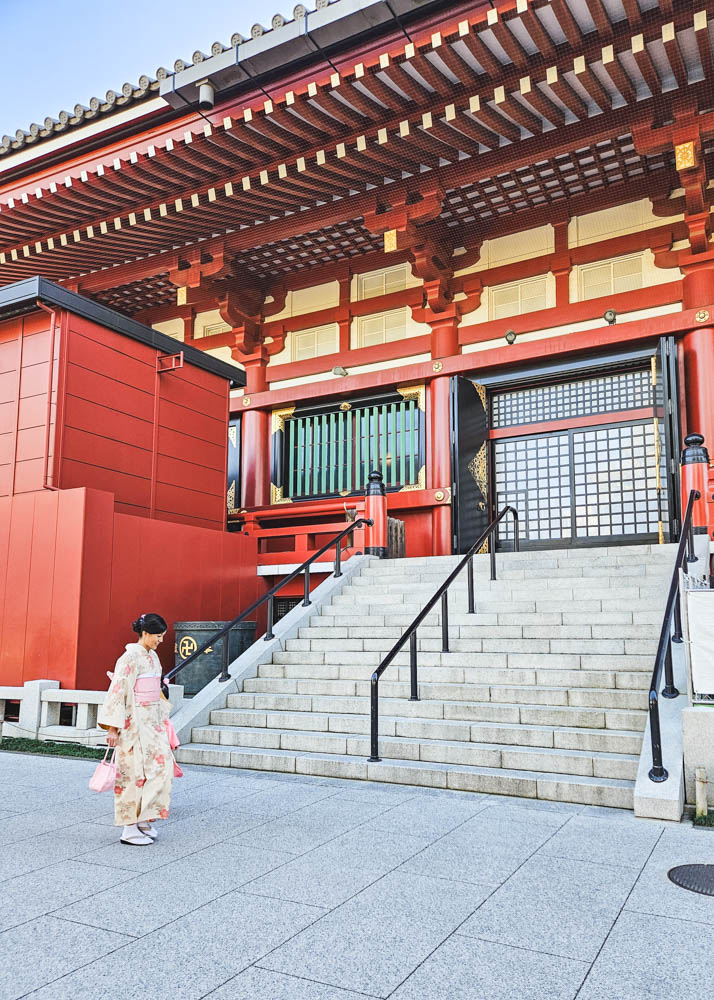
Kimono Photoshoot
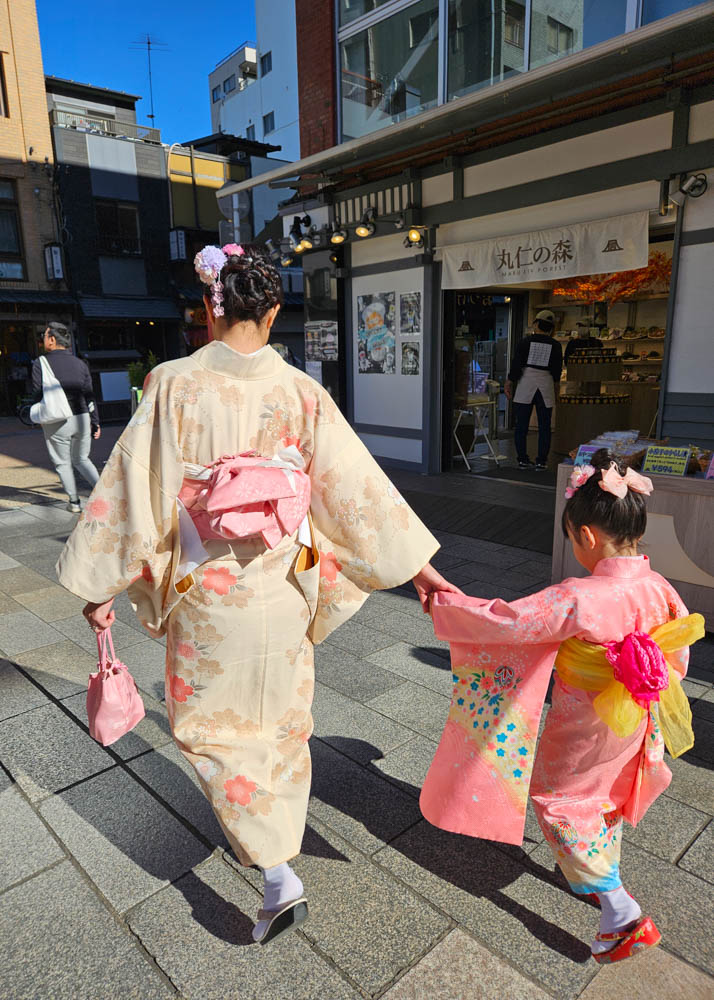
Begin your Asakusa experience with a traditional kimono photoshoot. There are many shops in Asakusa offering kimono rental services but we recommend booking in advance, especially if you would like to do a photoshoot (which we highly recommend!)
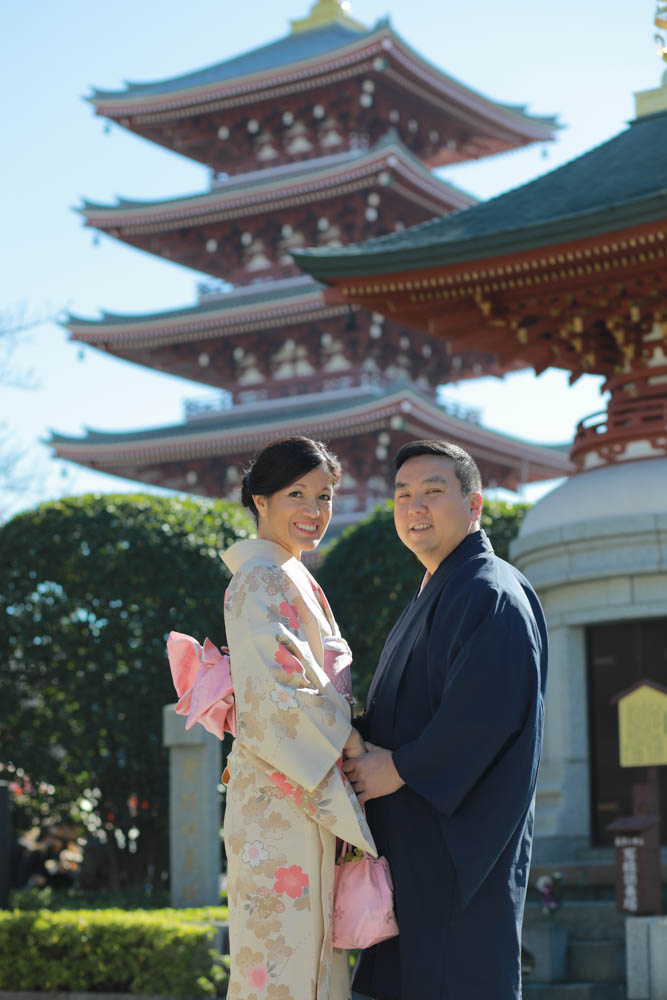
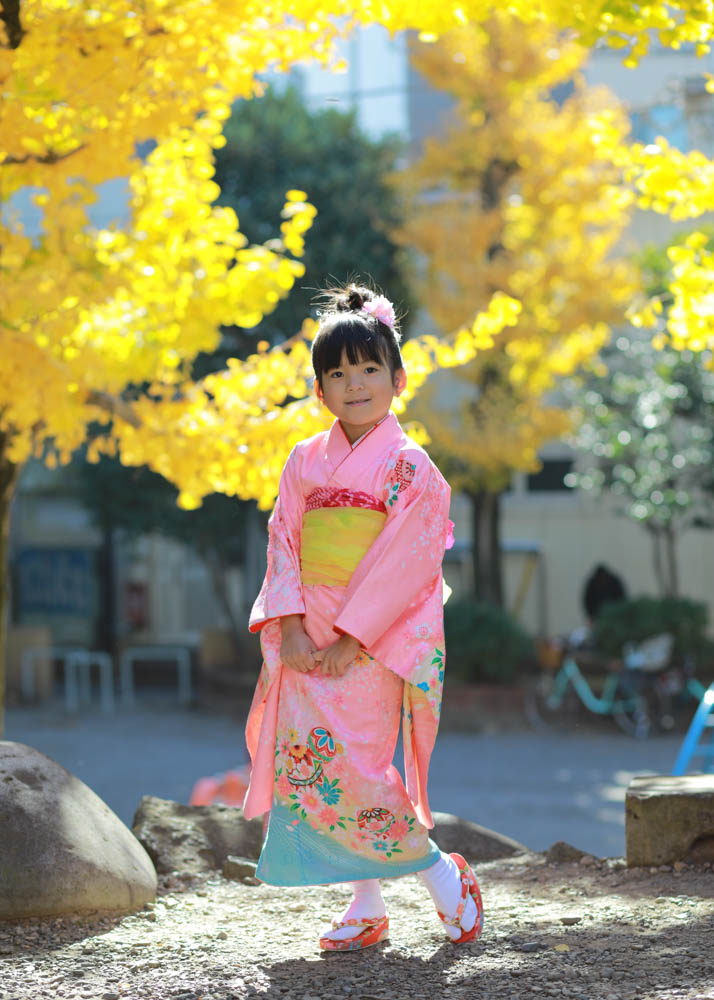
We booked our Kimono Rental and Photography Experience on Klook at a shop called Kimono-mitsuki. This shop has a huge amount of kimonos to choose from and their packages include the kimono rental, obi, sandals, Japanese bag, hair styling and photoshoot with an English-speaking photographer.
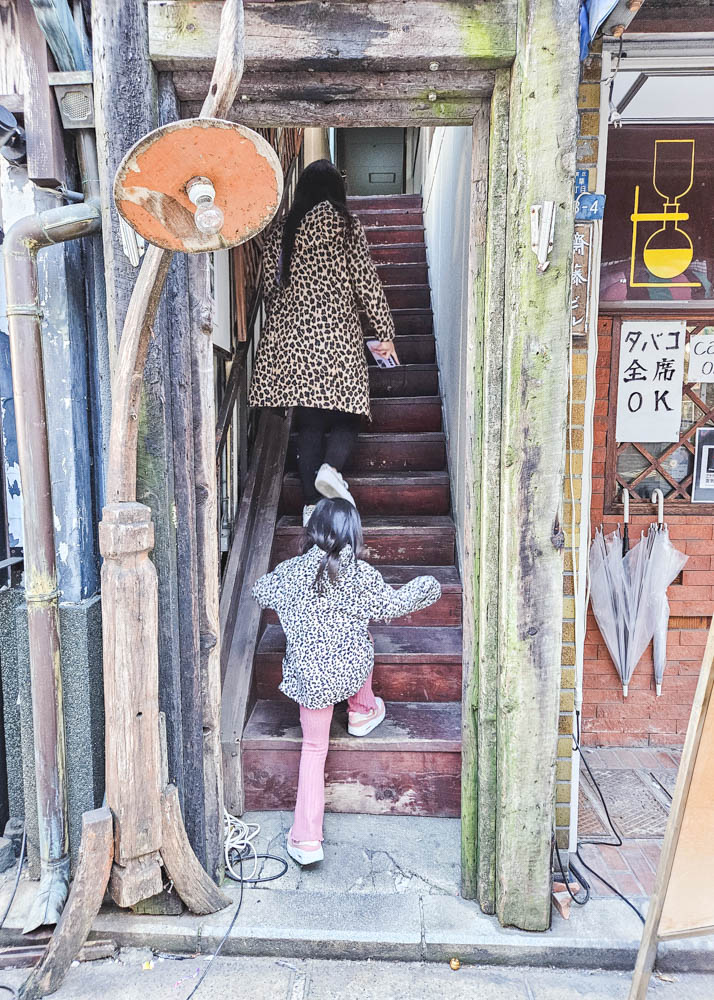
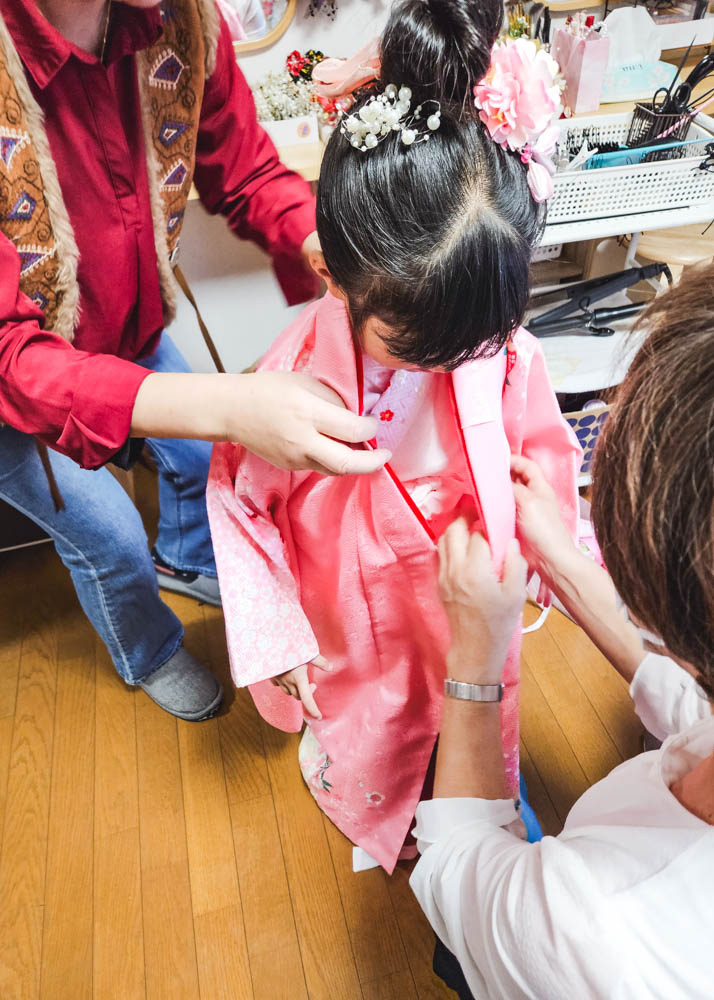
For our family shoot package, we paid a total of ¥28,800, which we thought was very good value! Upon arrival at the shop, we were able to choose whichever outfits appealed to us and then the staff helped us get dressed. It is quite the process involving more layers than I ever could imagine!
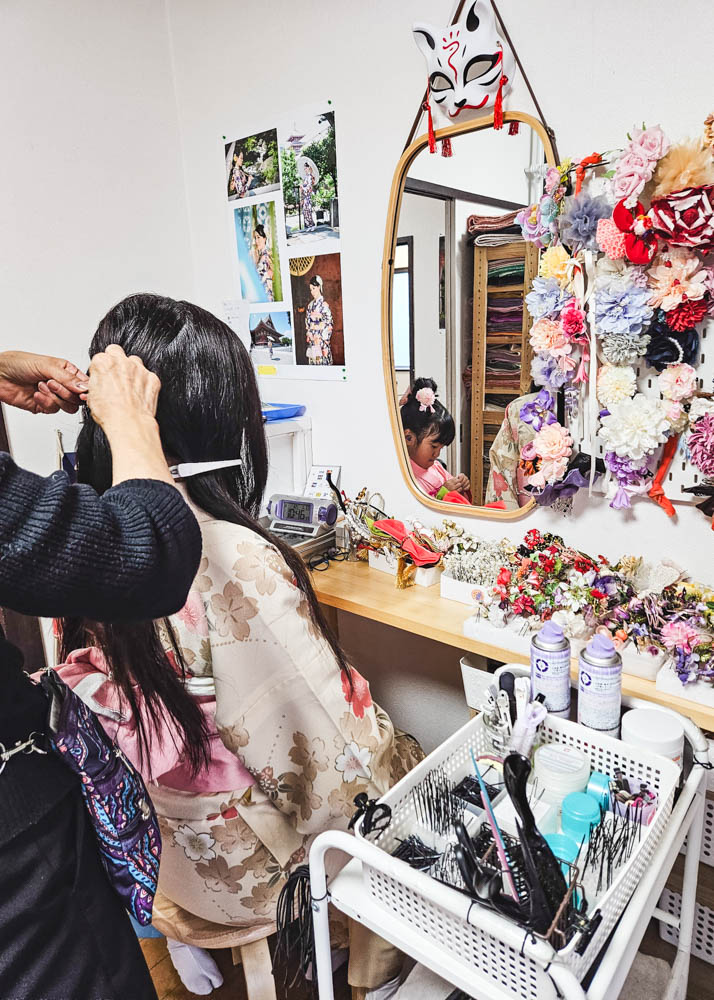
After getting dressed, my daughter and I had our hair styled into updos. I was impressed with how fast they were able to style us. The whole process of getting dressed and having our hair done took about 30 minutes.
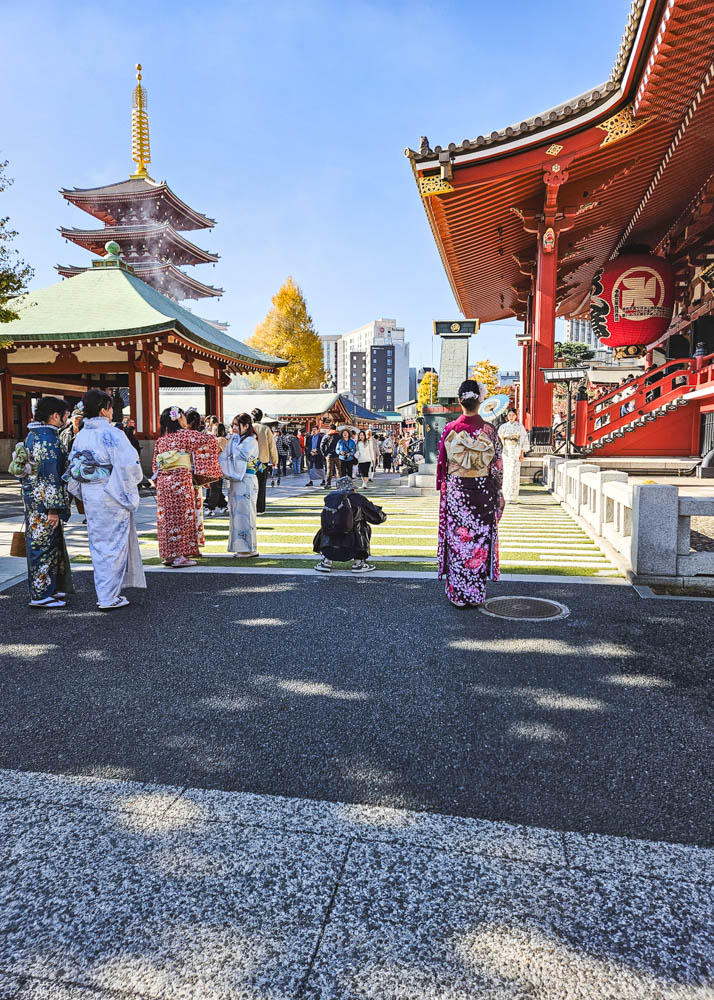
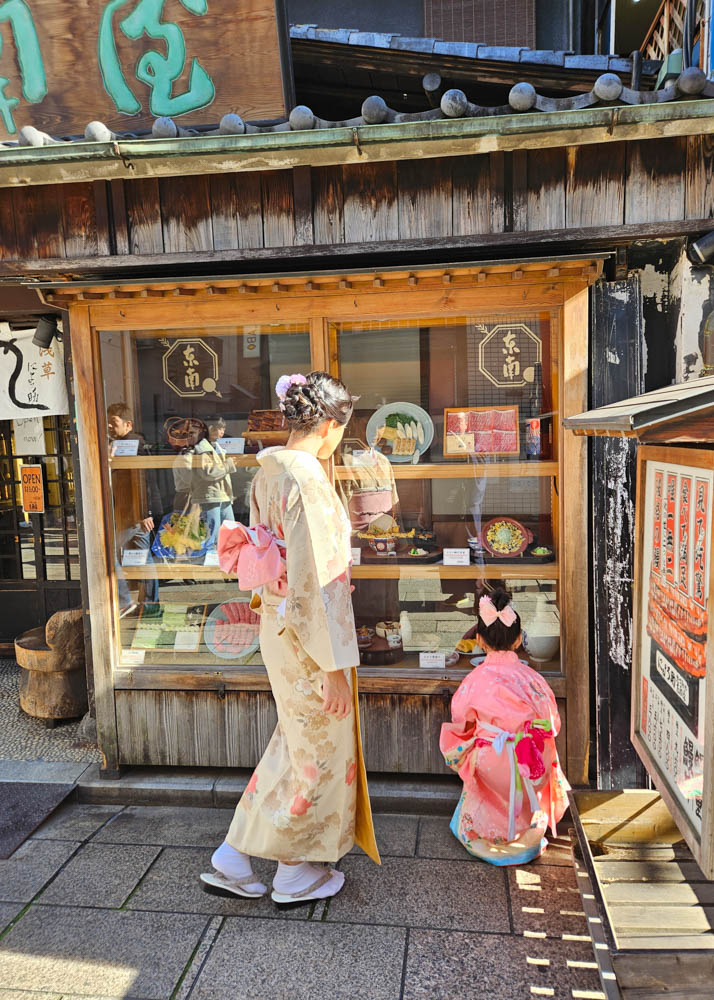
The photoshoot was one hour long. Our photographer took us to beautiful sites around Asakusa and helped us with posing. Over 100 photos were included and sent to us the following day.
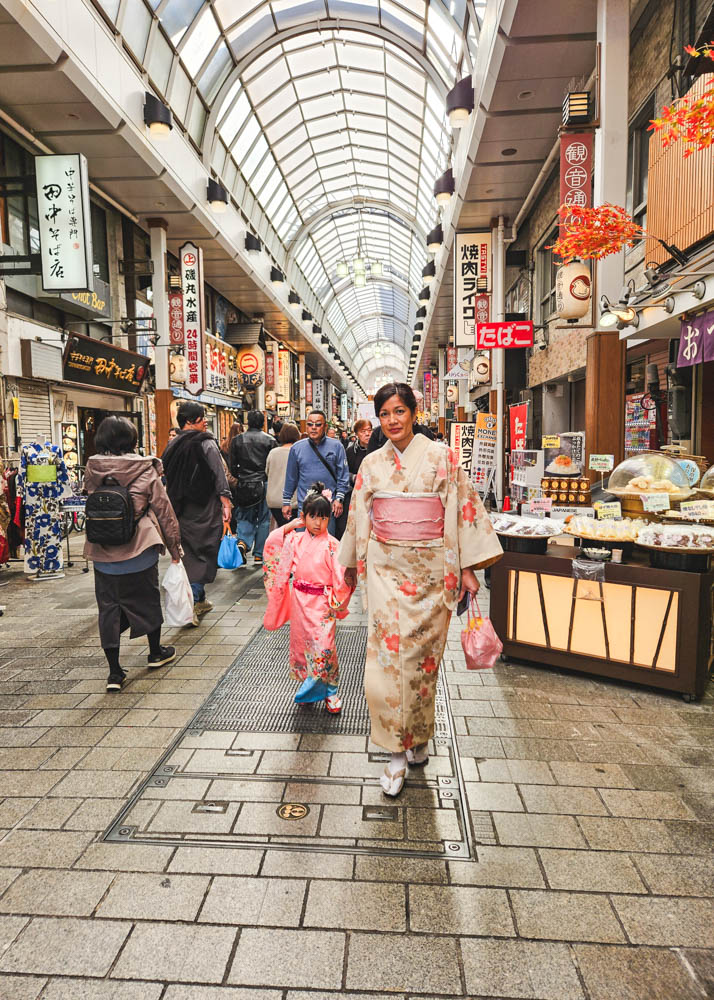
As for our kimonos, we were free to wear them the entire day while exploring Asakusa if we wanted. They just need to be returned to the shop by 4:30pm.
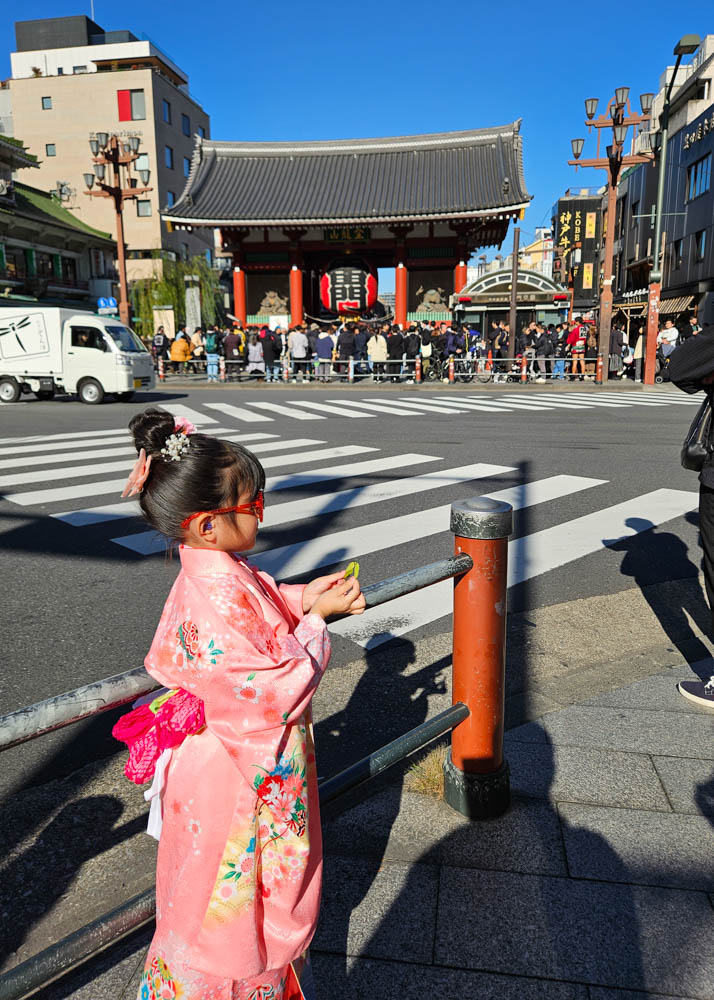
While exploring, we had a number of tourists stop us and ask to have photos taken with us, which was quite amusing 🙂 We of course obliged.
If you just want to rent kimonos and take your own photos, you can book just the kimono rental for ¥5,280/adult and ¥4,180/child.
We highly recommend this experience! It remains one of our favourite and most memorable experiences of our Japan trip.
Hours: 10am-5pm daily
Explore Asakusa
Asakusa is known for its historical charm and temples. If you want real traditional Japanese vibes, this is the place in Tokyo to find them.
The earlier you can come here, the better. It is a very popular area and the streets got extremely crowded by lunch time. This was probably the busiest place we experienced during our three days in Tokyo.
If you’re looking for souvenirs, head to Nakamise-dori Street. Make sure to visit the picturesque Senso-ji temple. Check out Asakusa Shrine and don’t miss Kaminari Gate.
When you get hungry, there are tons of places to grab a bite to eat.
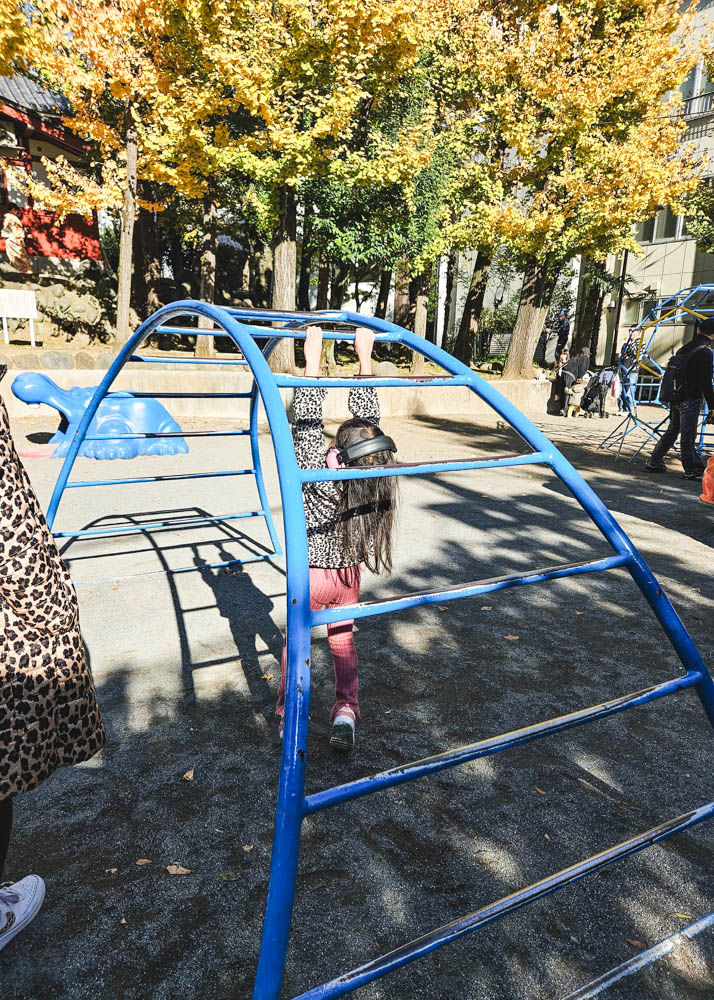
And if you have kids with you, stop at Bentenyama Children’s Park so they can run around and play for a bit!
There is so much to see and do here in Asakusa to keep you occupied for hours! It is such a scenic place.
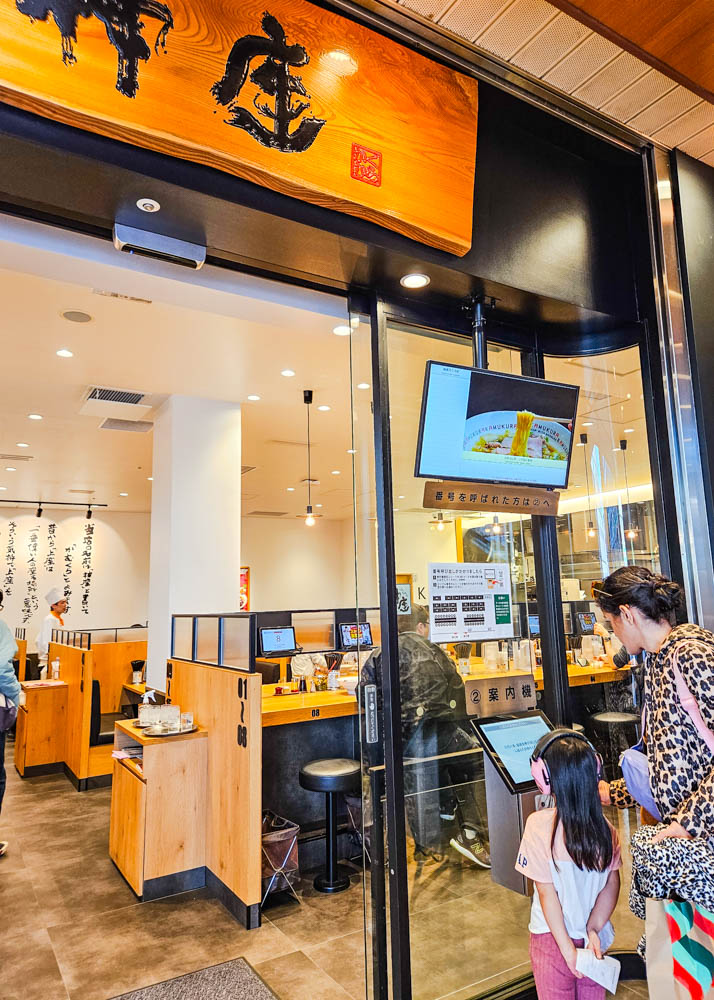
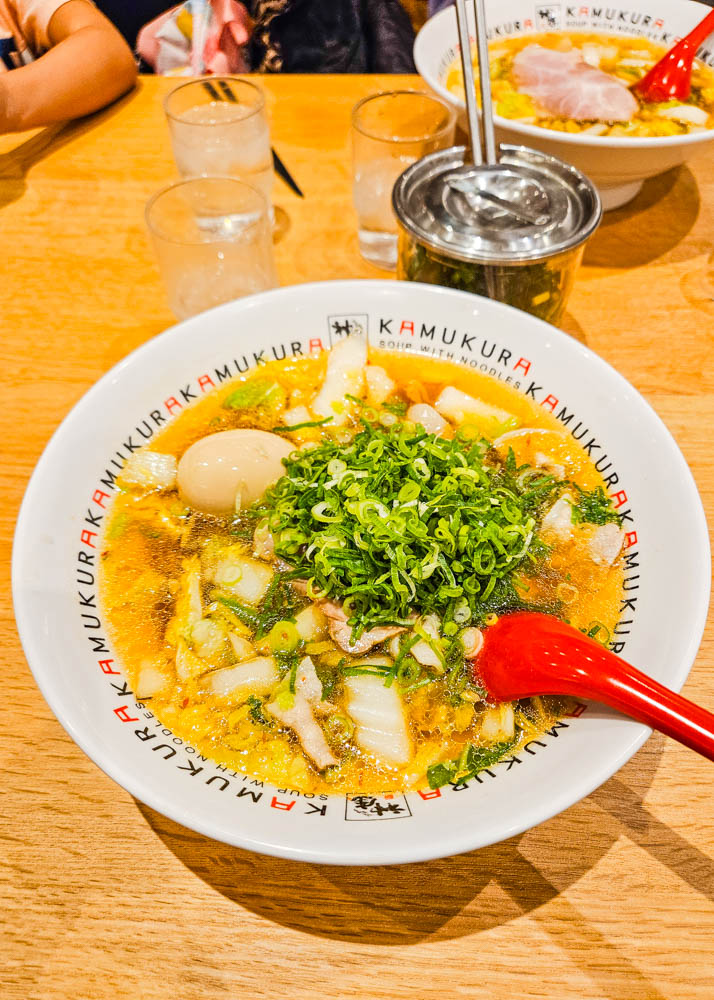
Dinner at Kamukura Dining – atre Ebisu
After a full day of exploring, it’s time to head back towards the hotel. Take the subway back to Ebisu Station and grab some dinner on the way back to the hotel.
Kamukura Dining is a yummy ramen restaurant conveniently located right at Ebisu Station. We made sure to enjoy our last bowl of authentic ramen here before it was time to head back home to Canada.
Hours: 10am-11:30pm daily
Yebisu Garden Place
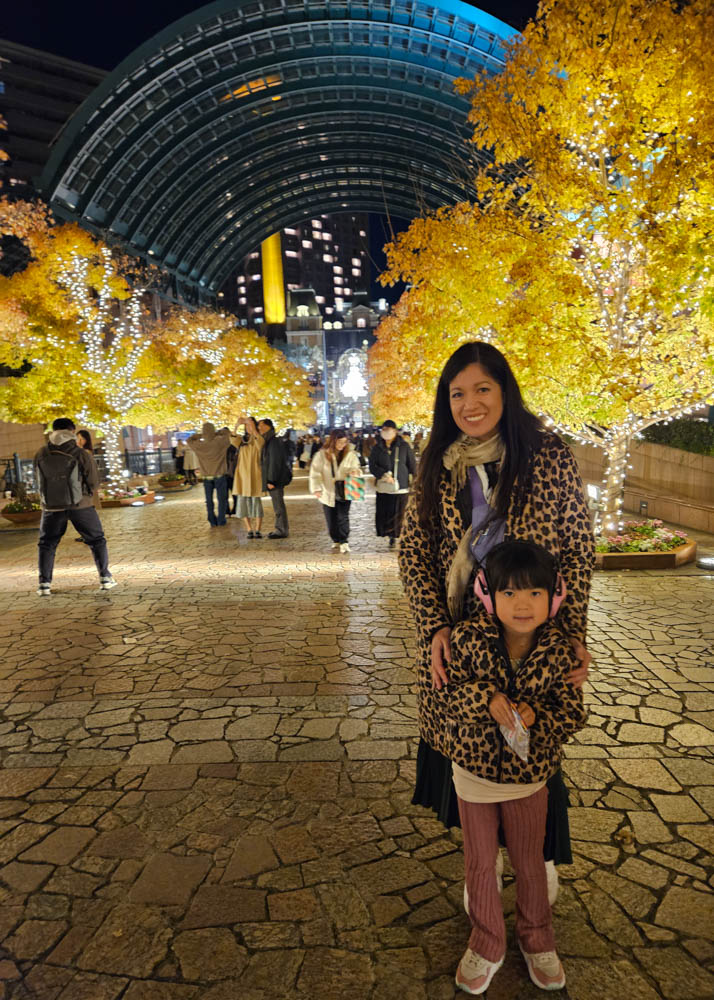
If you still have some time to pass before your flight, check out the upscale Yebisu Garden Place located next to The Westin Tokyo. We stored our bags with the hotel after checking out and came here to pass the time before our late-night flight.
This shopping plaza is known for its upscale shops and eateries. The shops were fun to explore – we were in awe of the huge The North Face store. There’s also a nice book shop called Tsutaya where our daughter bought a book to entertain her on the flight back home.
We stopped to enjoy some coffee and cookies at the trendy Verve Coffee Roasters and enjoyed a lovely choir performance outside.
Taxi to the airport
Sadly, our three days in Tokyo have come to an end and it’s time to head to the airport. If your flight is departing from Haneda, it is just a 25-minute taxi ride away.
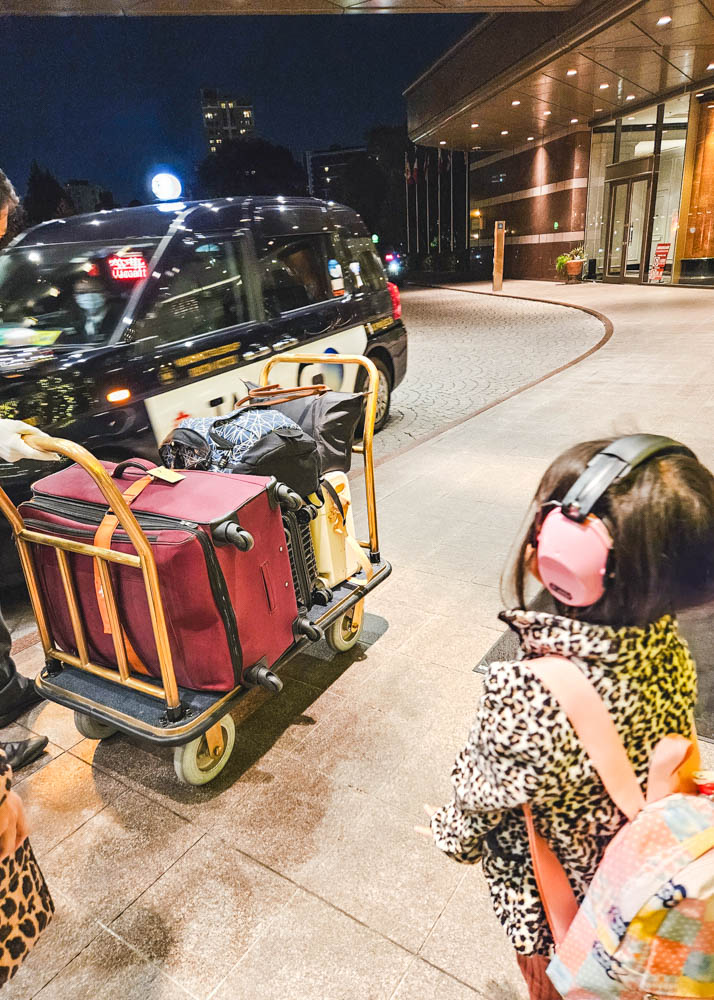
If you are departing from Narita, you’ll want to either catch the limousine bus from the hotel or take the train. Driving takes about 1.5 hours and will be quite expensive in a taxi or Uber.
We hope you’ve enjoyed this 3-day Tokyo itinerary and have found inspiration for planning your trip!
Read our full Privacy Policy and Affiliate Disclosure Statement.
3-Day Tokyo Itinerary Map
More Japan posts:
- 1-Day Tokyo Disneyland Itinerary – Perfect for a layover with kids!
- Review: Hyatt Regency Tokyo Bay – An affordable choice for a Disney trip!
- Review: Flying on the ANA Pikachu Jet! Tokyo Haneda to Vancouver
- Review: The Westin Tokyo
- 3-Day Okinawa Itinerary – A fun fall getaway!
- Review: Hotel Collective – Naha, Japan
- Japan Airlines Economy Review: Domestic A350-900 OKA to HND
You might also like:
- One Day in Kuala Lumpur – Layover Itinerary
- Two Days in Singapore Itinerary: How to Maximize Your First Visit!
- One Day in London with Kids
- Oman Road Trip – A 4 Day Self-Drive Oman Itinerary



Leave a reply